Radiator Shield Insulation
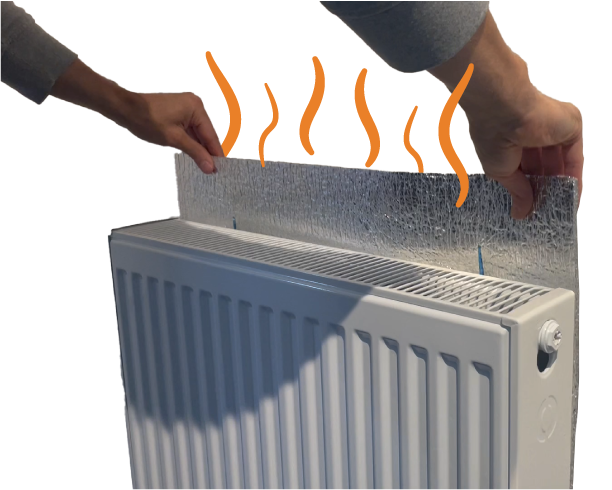
Did you ever think about all the heat that comes out of your radiator and then goes straight into the wall rather than heating your room? Well, we have the solution. Low-E radiator shield insulation reflects 97% radiant heat and can improve the radiators throughout your home.
Want to get hands on with our products?
What is Radiator Shield Insulation?
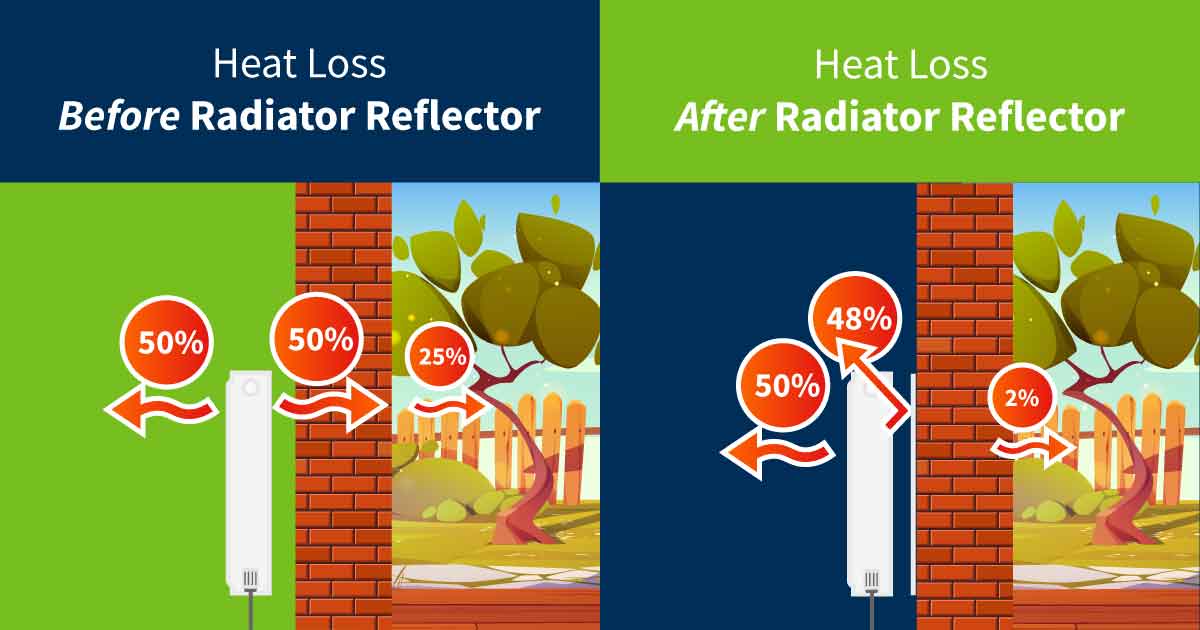
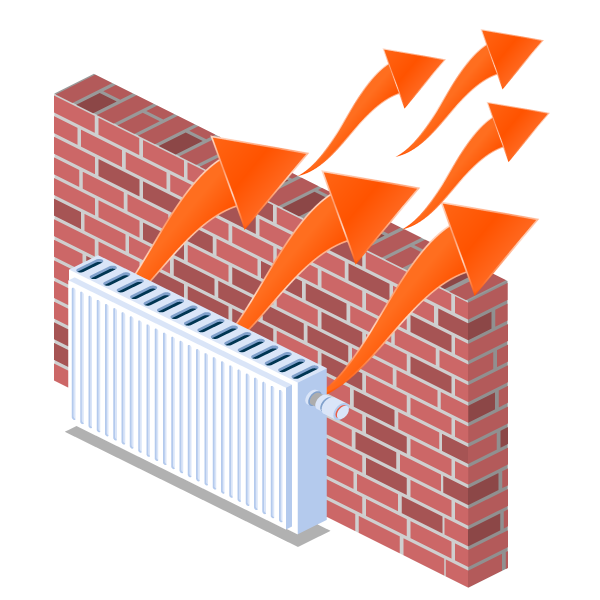
1. Without Radiator Shield Insulation
– 50% of your radiators heat is directed at your wall
With half of the heat emitted from a radiator being directed at a wall, up to 25% of this heat can travel to the outside and become completely lost.
2. With a Radiator Shield Insulation
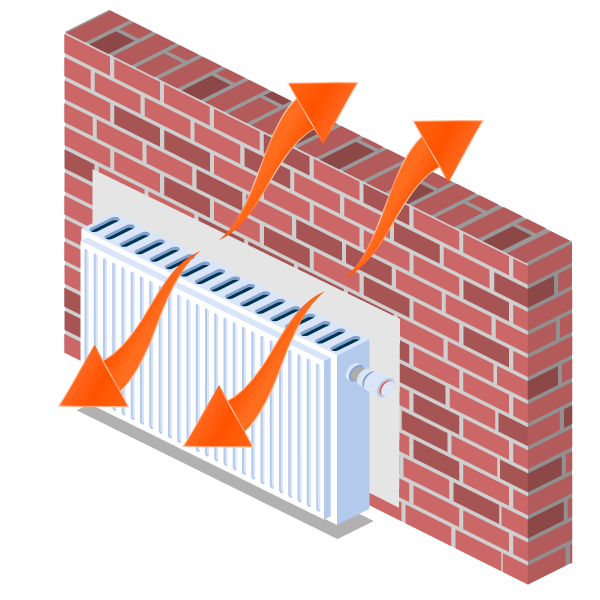
– 98% of your radiators heat now stays in your house
With radiator shields made from reflective foil insulation material, 48% of the heat previously heating your wall is not reflected back into the room and only 2% of your radiators heat is lost outside instead of 25%.
Benefits of Installing Radiator Shield Insulation
Improved heating efficiency
A radiator refelctor created using Low-E material refelcts heat back into the room, reducing the amount of heat lost through external walls creating significant improvement in heating efficiency.
Decreased energy bills
With radiator shields installed, heating systems don’t have to work as hard or as long to maintain a comfortable temperature, leading to lower energy coonsumption and, consequently, reduced heating bills.
Better temperature comfort
A Low-E radiator reflector results in a more comfortable living or working environment, as the heat distribution becomes uniform across the room, especially in those areas that are farther from the radiator.
DIY and instant results
Low-E reflective insulation is wasy the install behind rediators, requiring minimal technical skills or tools and, once installed, it requires little to no maintenance, offering a hassle-free way to boost energy efficiency.
Watch: How to make your own radiator shield
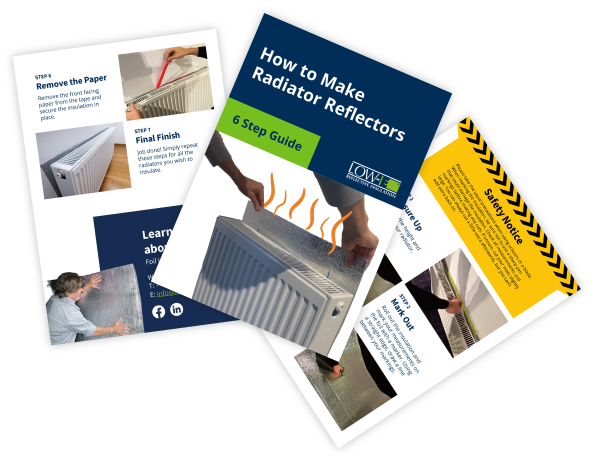
Watch our short 1-minute video on how to create and install a radiator shield using our radiator insulation in 5-easy steps with nothing but a tape measure, a pair of scissors and some double-sided tape.
Installing Radiator Shield Insulation
Easy to install Low-E Radiator Shield Insulation stops the heat transfer that’s lost into your walls and reflects the heat back into your home. Adding Low-E Insulation behind your radiators will make your rooms warmer and reduce your energy bills. Easy to cut to size, Low-E is made from recycled material, it can’t absorb moisture, is waterproof and can easily be wiped clean if required.
Recommended Low-E Product
Low-E EZY Seal
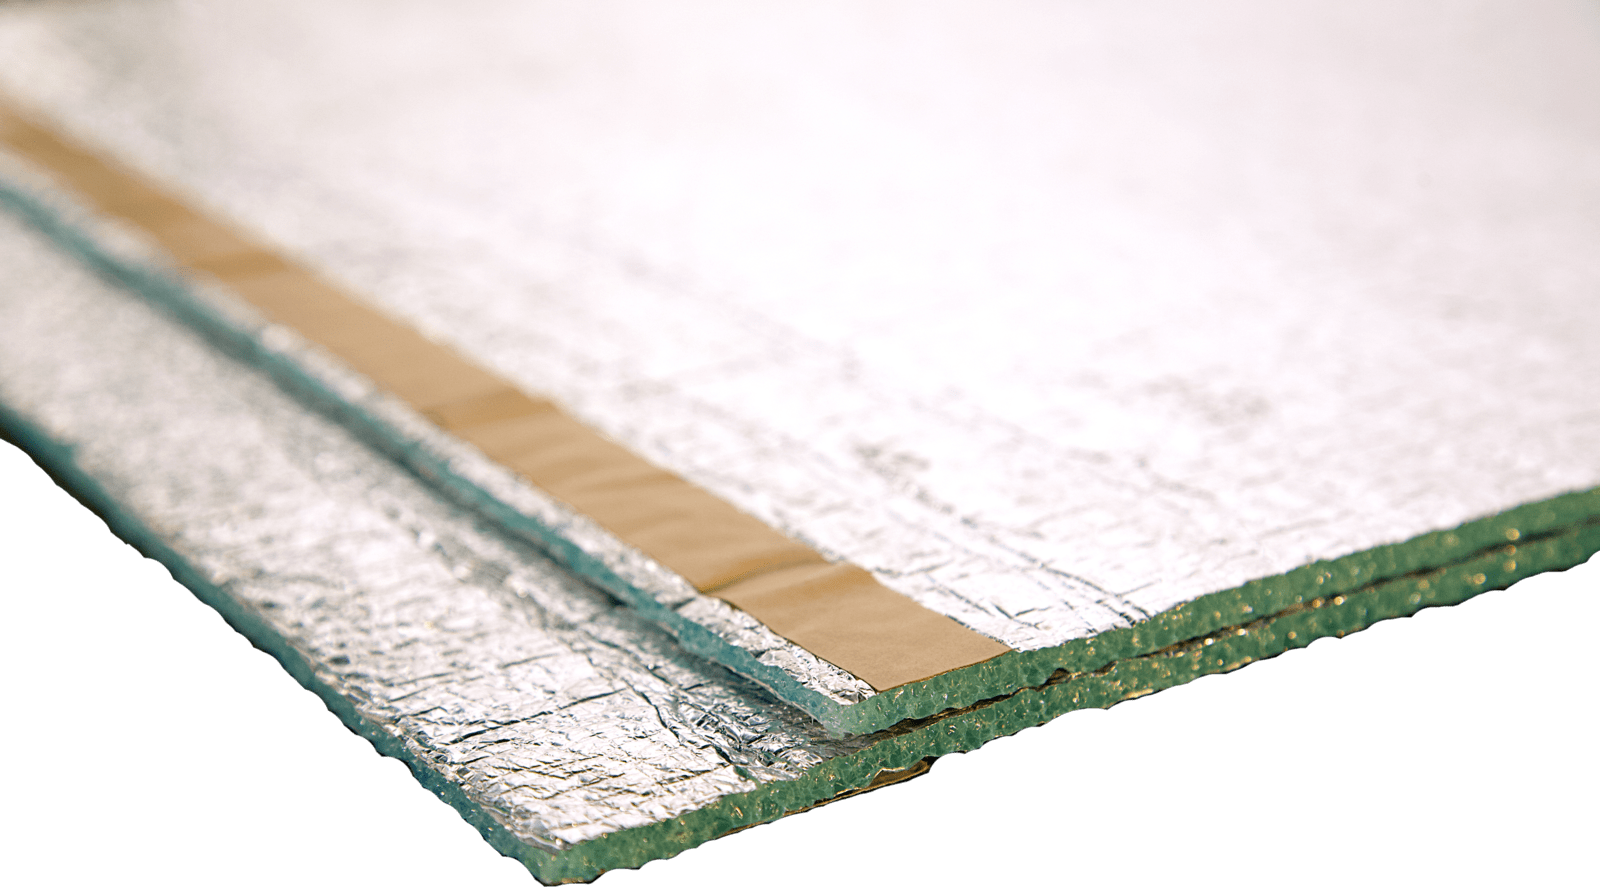
Low-E EZY Seal Insulation has a self-adhesive strip along one side of the roll, perfect for quickly installing radiator shields. EZY Seal can be bought in 4, 12 & 24 metre lengths and is only 5.5mm thick, perfect for sliding into small gaps and going unnoticed aesthetically.
