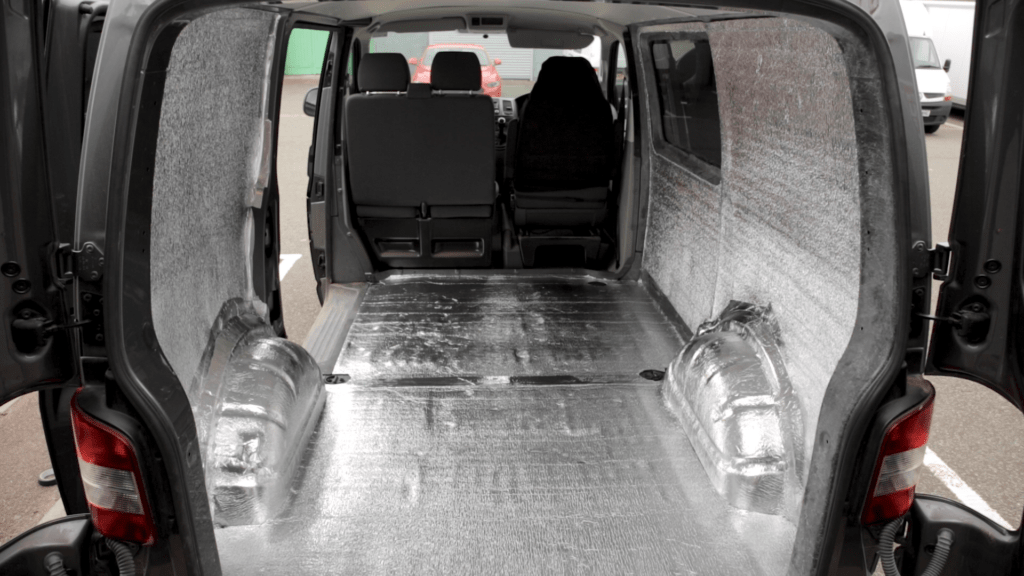
Campervan Insulation
Low-E Campervan insulation can be used extensively throughout the side walls, floor and roof to thermally insulate, deaden sound and reduce the risk of condensation forming in your van.
Our insulation is lightweight, super thin and extremely efficient. Low-E insulation will not take up valuable space in your campervan and will reduce the heat transfer in a vehicle by over 90%, keeping you warmer in winter and cooler in summer.
Want to get hands on with our products?
Reasons our customers use Low-E Campervan Insulation
How to Install Campervan Insulation
How to Install Campervan Insulation
There are a few different methods for installing Low-E Insulation in a camper van. We can’t cover them all in here but the most important thing to remember is to try and maintain an airspace beside the foil surface. The airspace can be between 6mm-20mm. The bigger the airspace the more efficient it will be.
Carefully follow each of the steps below and you will soon have a well-insulated camper van ready to kit out to your own custom specifications. There is no great benefit in doubling up the insulation. It’s only worth using an extra layer of Low-E Insulation if you also have an airspace beside the foil surface. You can learn more about how airspaces work by visiting our blog How Low-E Works.
Take care when using sharp blades and always refer to manufacturers guidelines. *This guide focuses on the install of insulation only. Be sure to consider any other steps in your camper van project such as electrical installations and plumbing before you begin.

Step 1: Ripping Out
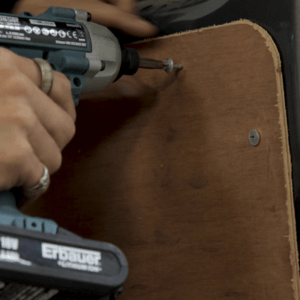
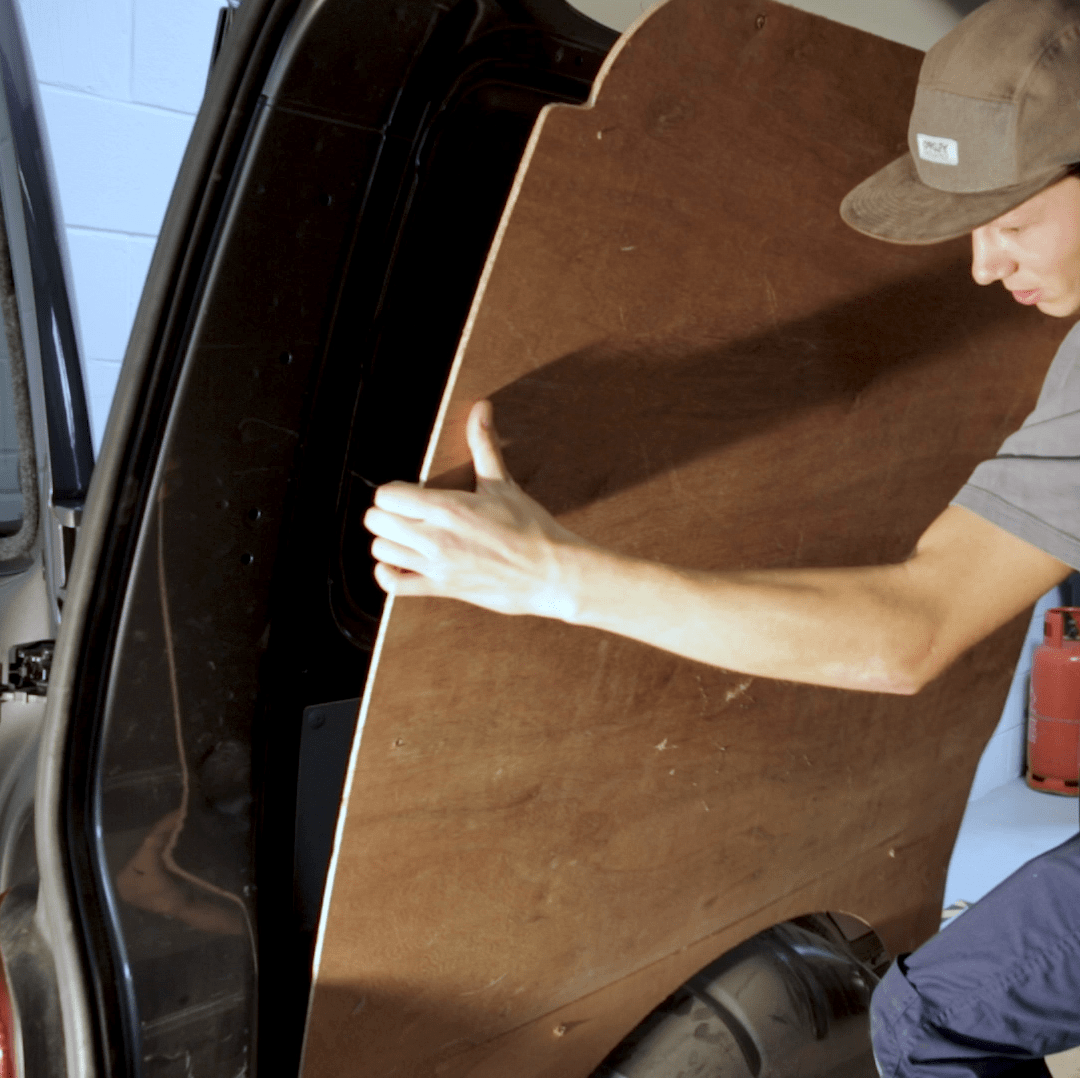
In order to insulate your van, you will need to strip the interior down to the bare metal. Start by removing any existing fixings from your van’s interior. Unscrew and remove any internal panels taking care not to damage the pieces if you plan on re-using them later. Existing panels may be useful as templates for your new panels. If they’re secured with poppers you can prise them out although some may break. Be sure to remove any other material such as carpet or old insulation from behind the panels. Use protective equipment if you suspect any mould or airborne fibers.

Finally, sweep the vans interior and use a damp cloth to remove any dust from all surfaces. Now that you have cleared out your van, make sure the area you are going to insulate is clean and dry and you can begin re-fitting to your own specifications.
Step 2: Sound Proofing
If you are going to do it, now is the time to install any sound proofing. Low-E Insulation has very good sound deadening qualities but it is not a sound proofing material. Installing a product such as QUACK MAT can help reduce road and vibration noise.
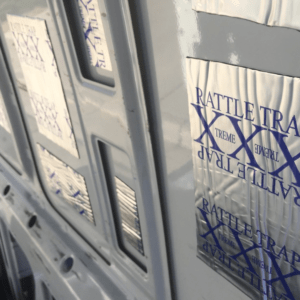
Step 3: Insulating The Recesses
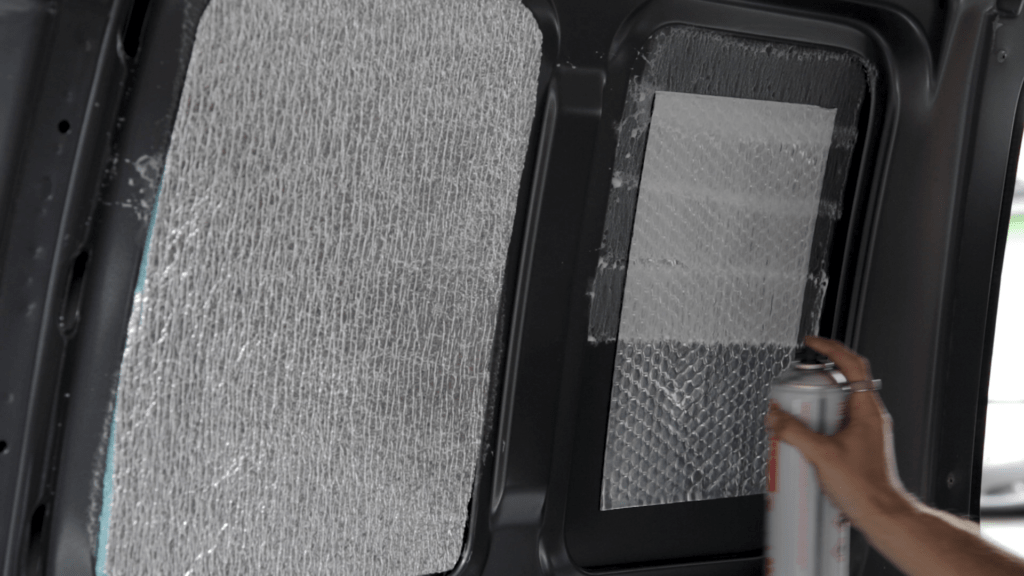
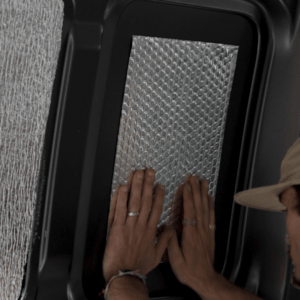
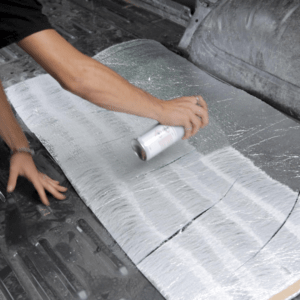
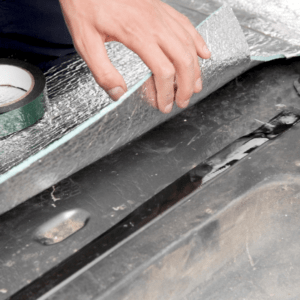
Following the manufacturers guidelines, applying the Spray adhesive to the bodywork evenly (over any soundproofing materials you may have used) and then to the insulation. It doesn’t matter which side of Low-E you apply the adhesive to as it is the same on both sides. Press the insulation into place making sure to achieve good contact with the adhesive surface.
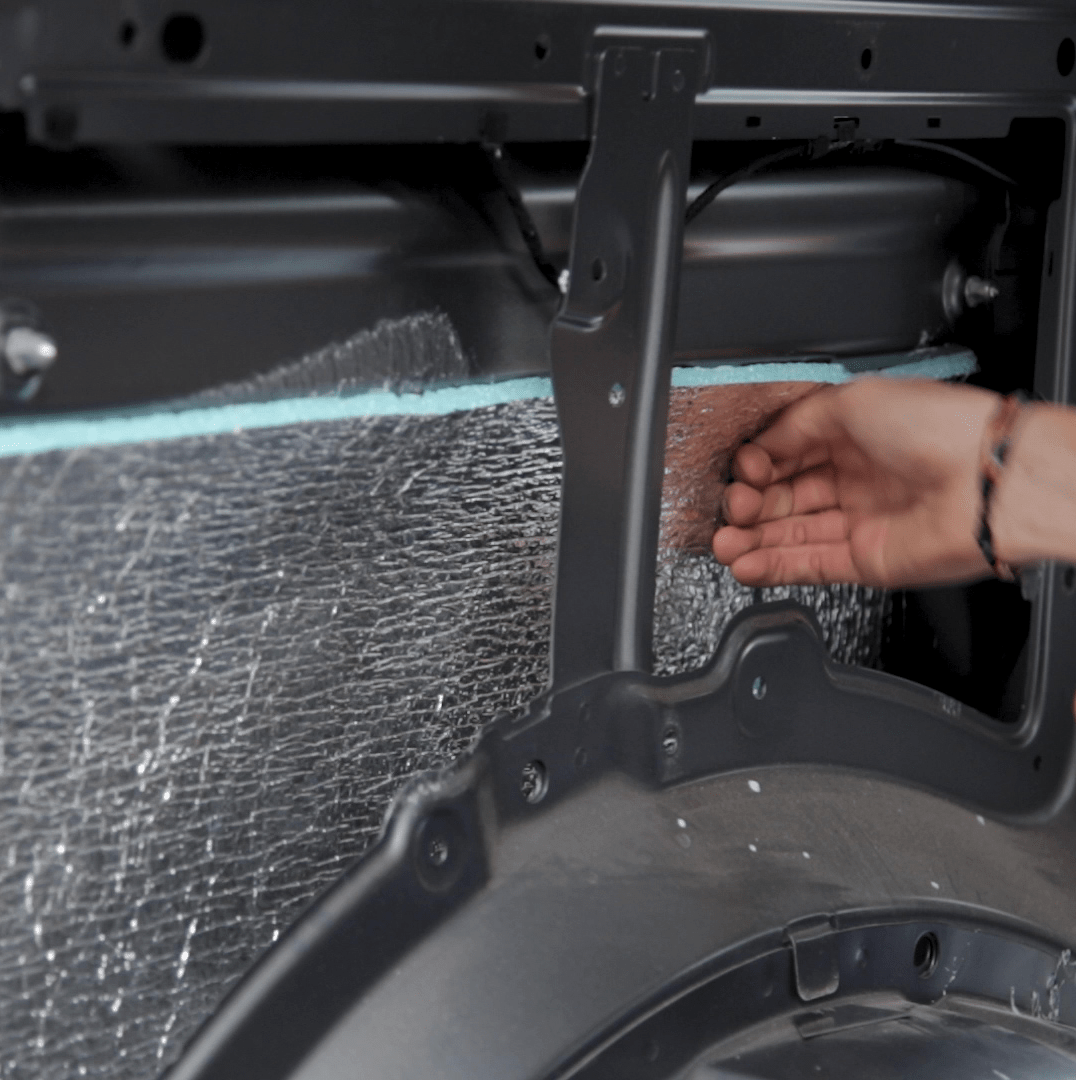
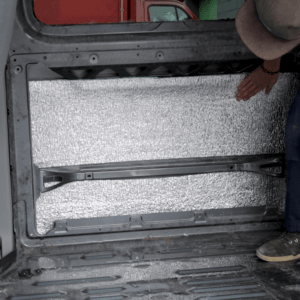
Repeat this process with all internal recesses, over the walls, roof and doors. Remove any excess with a sharp blade as you go.
Step 4: Wheel Arches
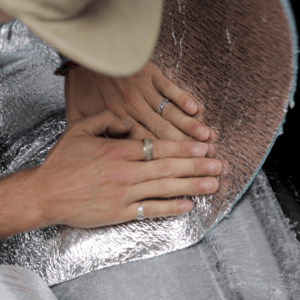
Apply the adhesive to both the wheel arch and the back of the insulation to ensure a good fix. There are many ways to cover a wheel arch but here they have cut ‘fan blades’ into the insulation.
Step 5: Applying Double Sided Tape
Step 6: Installing Insulation and VCL
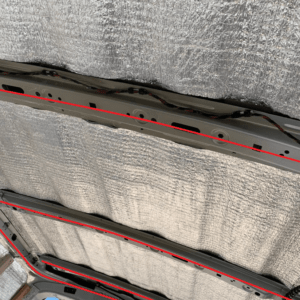
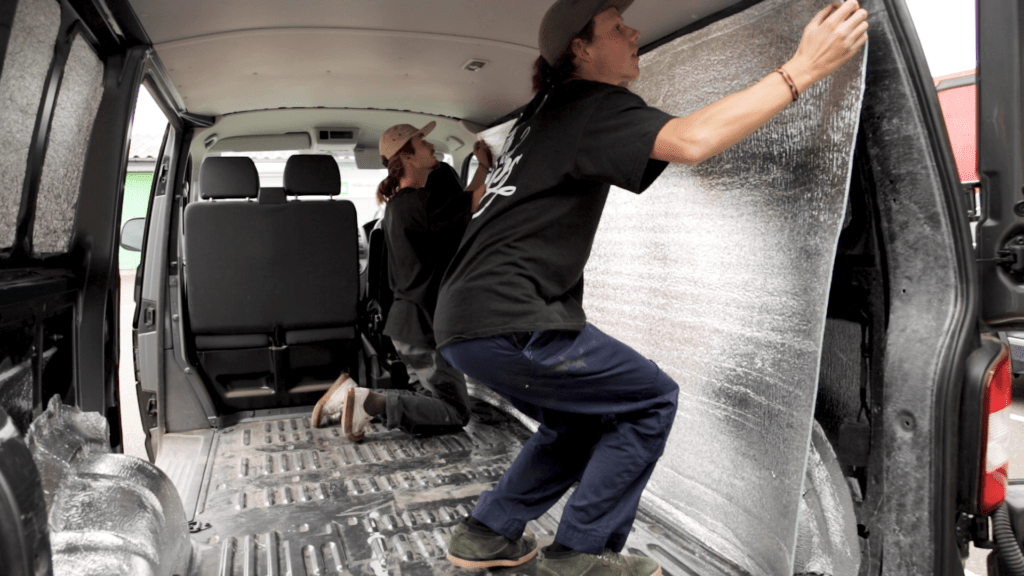
Now cut a piece of Low-E Insulation to size from the main roll. Stretch the piece of insulation from the front to the back of the vehicle in one single piece.
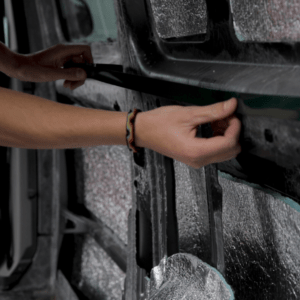
Remove the backing from the double-sided tape and secure the piece of insulation in place.
This reduces thermal bridging and cold spots across the struts vehicle. Repeat this process along all sides, the doors and the roof.
You will notice that you have created an airspace between the layer beside the foil surface.
Step 7: Cutting out for Windows
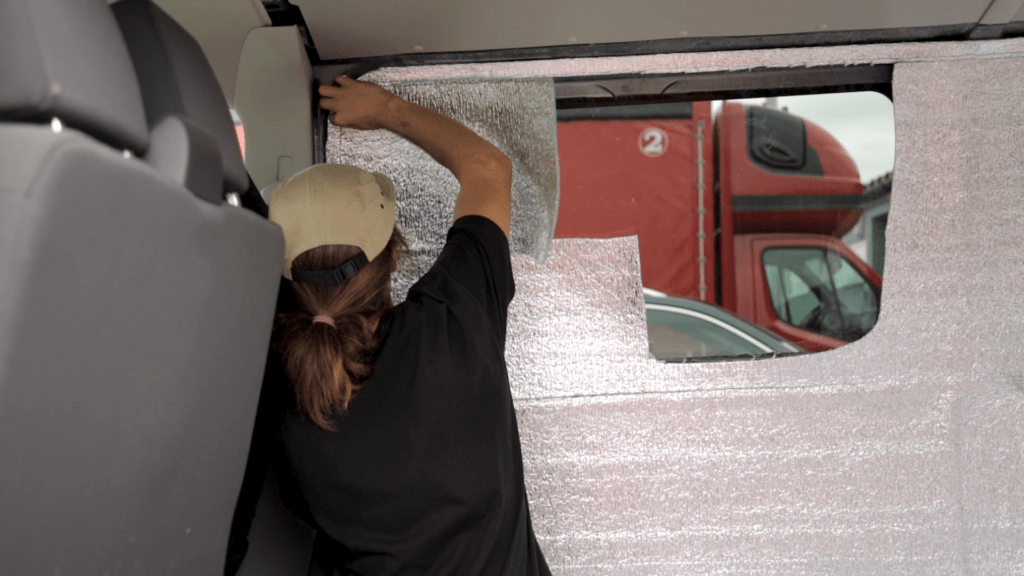
Carefully cut the insulation around any window openings. Then use the foil tape to seal up any joints and gaps in the insulation to ensure you maintain a Vapour barrier through the camper.
You can also use the foil tape to join pieces of insulation together, mend cuts, tears or holes that you might have made during the install.
Once you are happy that your foil insulation is fitted securely and that all joints have been taped together, you are ready to fit your internal lining panels.
Step 8: Boosting Performance
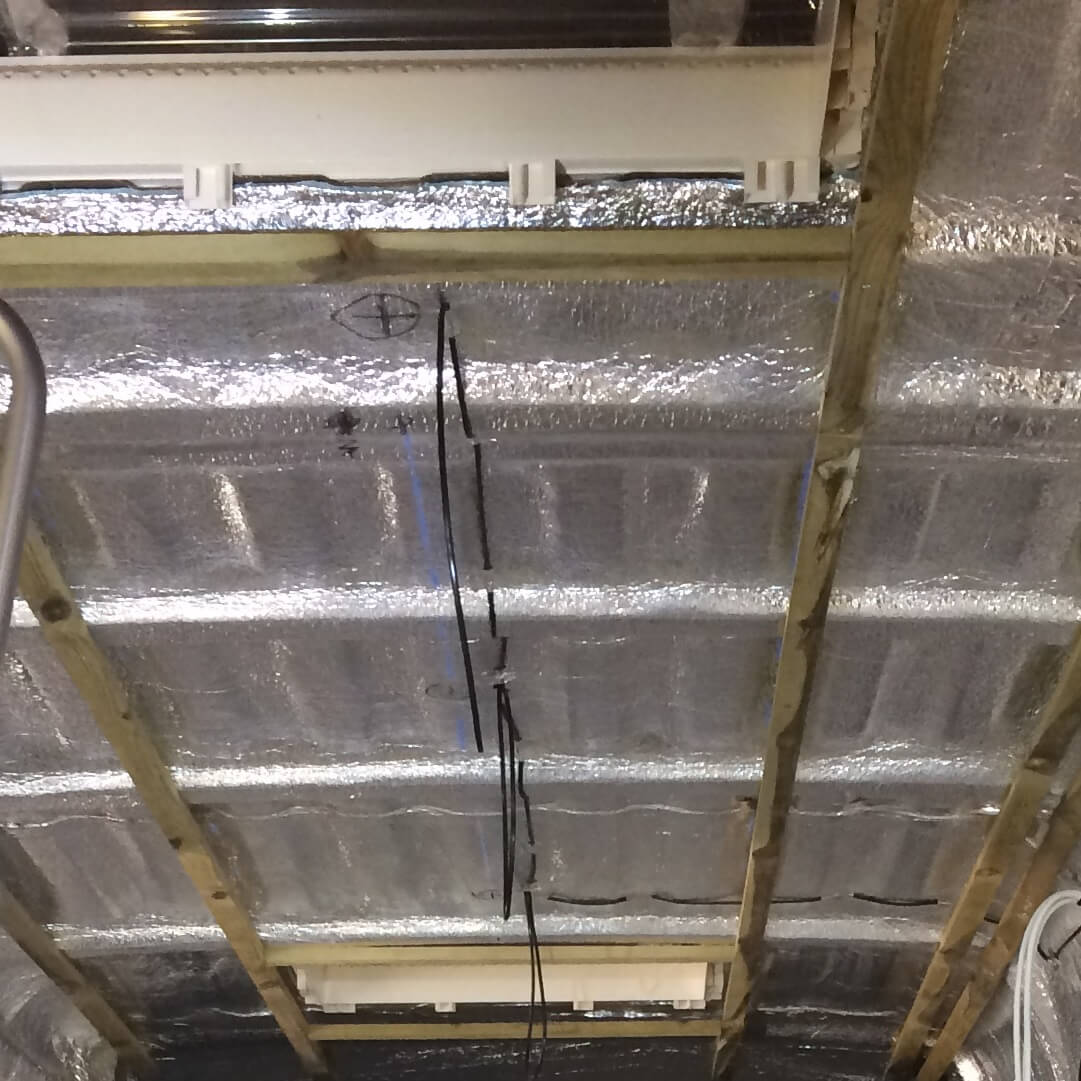
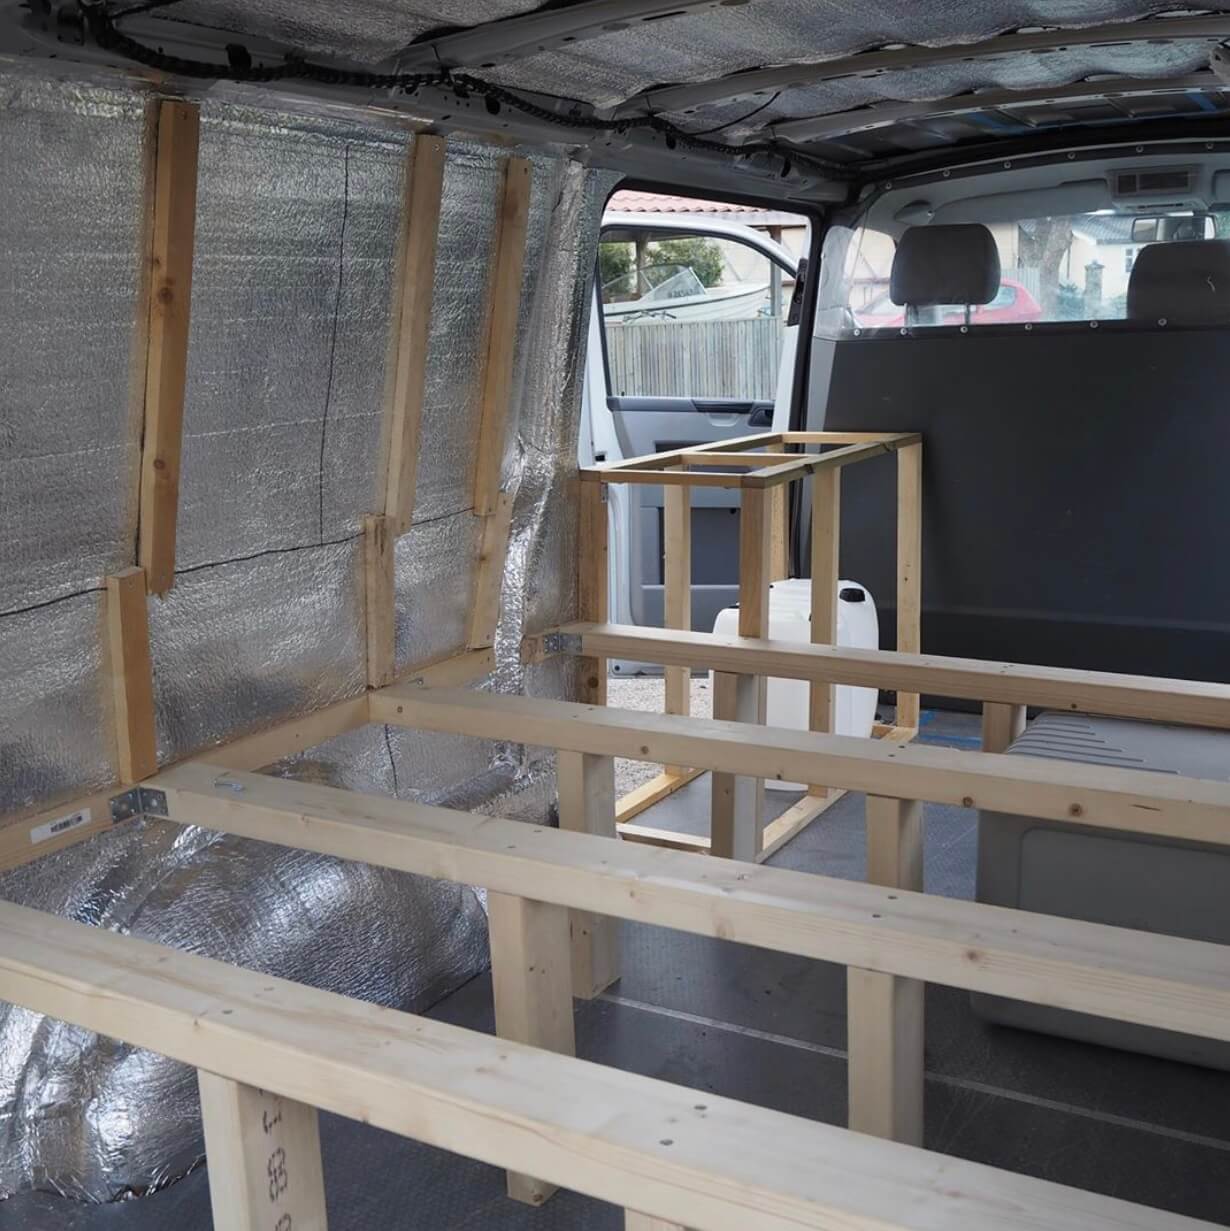
You now have the option of creating another airspace between the insulation and the internal panels. This is done by fixing a batten or spacer between the insulation and the internal panels. Remember the airspace only needs to be small to be effective (6mm-20mm).
This takes a little longer to do but creating another airspace beside the foil surface is by far the most efficient method for installing Low-E Insulation in a camper and could boost the thermal performance by another 40%.
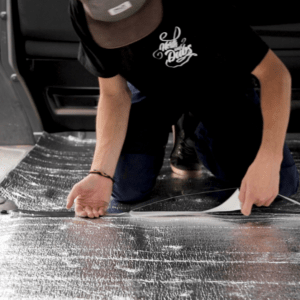
Step 9: Insulating The Floor
Put double sided tape around the edges of the floor, remove the backing and secure the insulation in place.
*OPTION – Use a double layer of Low-E Insulation or use our Ultra-E Insulation (11mm thick) to slightly increase thermal performance and for better sound deadening.
Step 10: Finishing Off
It is now time for you to finish the rest of your project happy in the knowledge that you have created a great insulation system that will keep you cool in summer, make your van easy to heat and keep you warm in winter, deaden sound, and won’t rot, corrode, or absorb moisture.
Happy Camping!