Pet Pad Insulation
Insulate your best friend from cold and damp. Pet Pad is mould and fungi resistant; it won’t absorb moisture or spills and can be wiped clean if required. It is easy to cut to size for any pet bed, house, crate, or carrier. Pet Pad insulation will keep your best friend warm and happy even when the temperature drops outside.
Want to get hands on with our products?
Reasons our customers use Low-E Pet Pad Insulation
Installing Pet Pad Insulation
How to Insulate a Pet Bed
Download this as a PDF
Installing Pet Pad Insulation
If your pet is older or suffers from arthritis, those aches and pains in their joints can be very painful and distressing. Pet Pad Insulates and provides a great thermal and moisture barrier against the cold. Making your best friend more comfortable and giving you peace of mind. Pet Pad’s moisture barrier also makes cleaning up easy and keeps liquid (and smells) from those little accidents from soaking into carpets and flooring. Simply remove Pet Pad from the bed, house, crate or carrier wipe it clean and its ready to go.

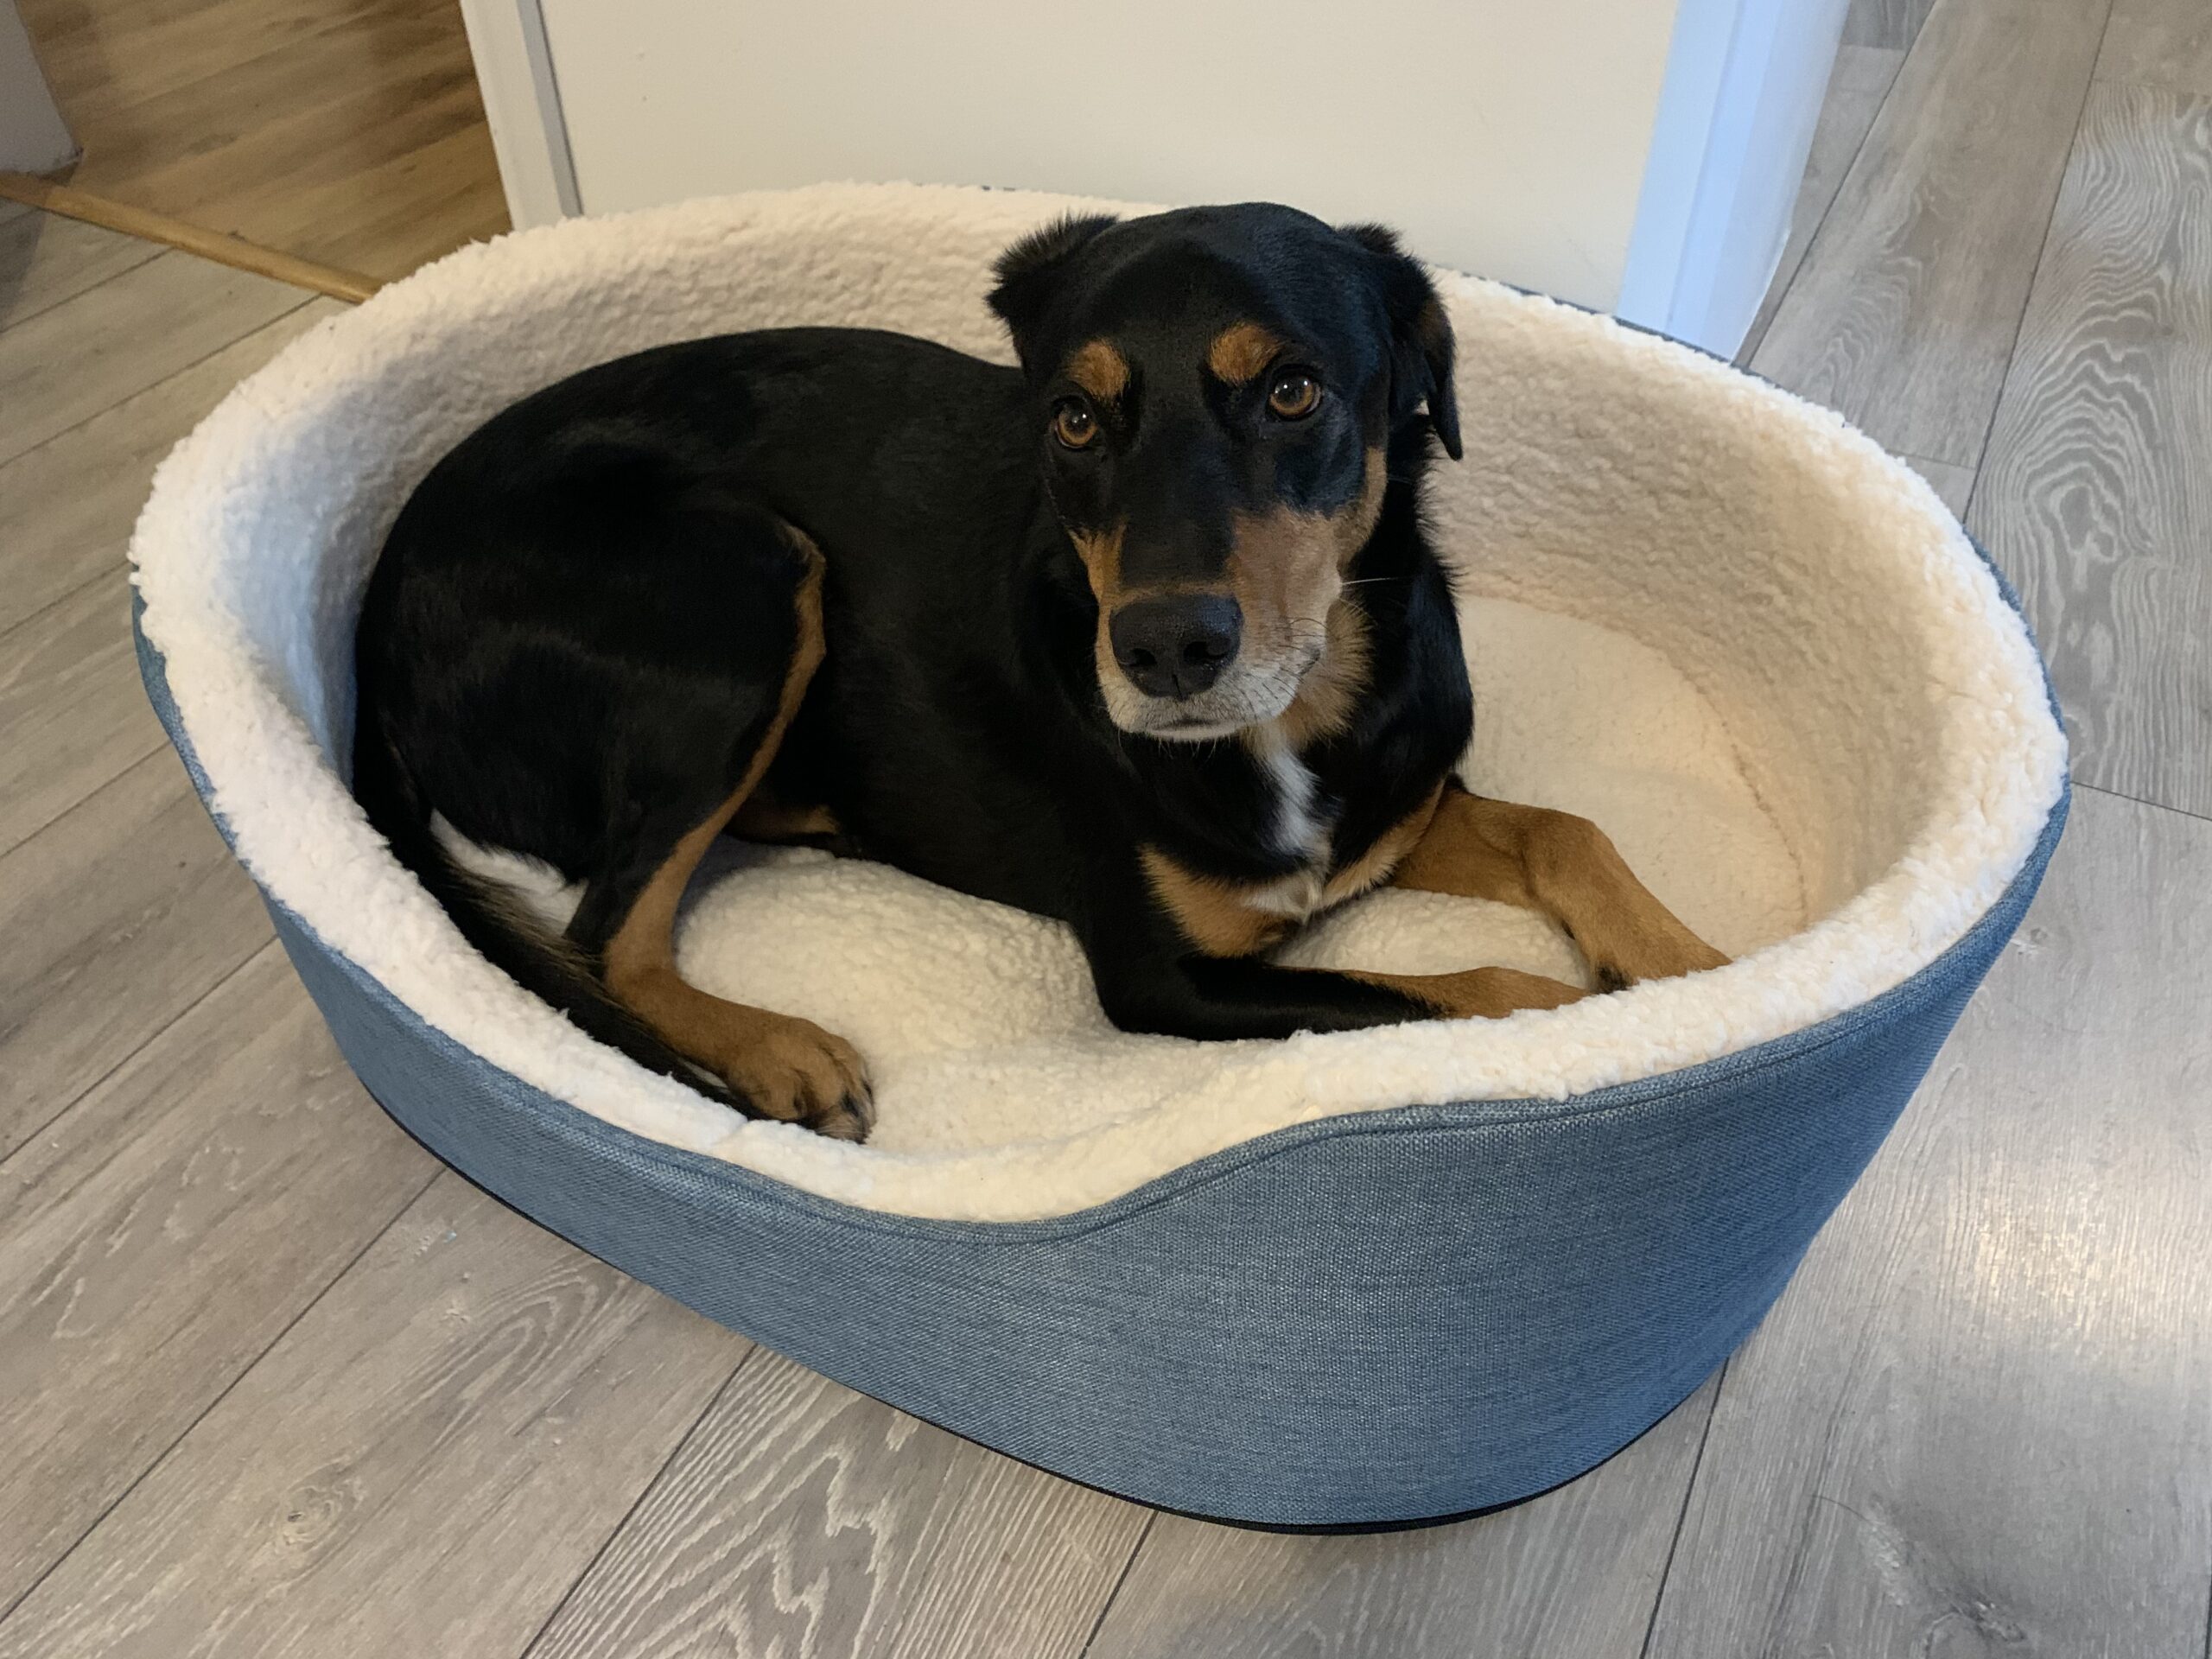
How to Insulate a Pet Bed
It can be easy to overlook the cold of laminated or tiled floors from the comfort of our sofas and beds during the colder months, but for our pets it can be uncomfortable and potentially detrimental to their health.
There are plenty of ways to insulate a pet bed, crate, kennel, box or carry bag but the materials can often be hard to cut and heavy. Most of the time they are absorbent, hard to clean and can become smelly over time.

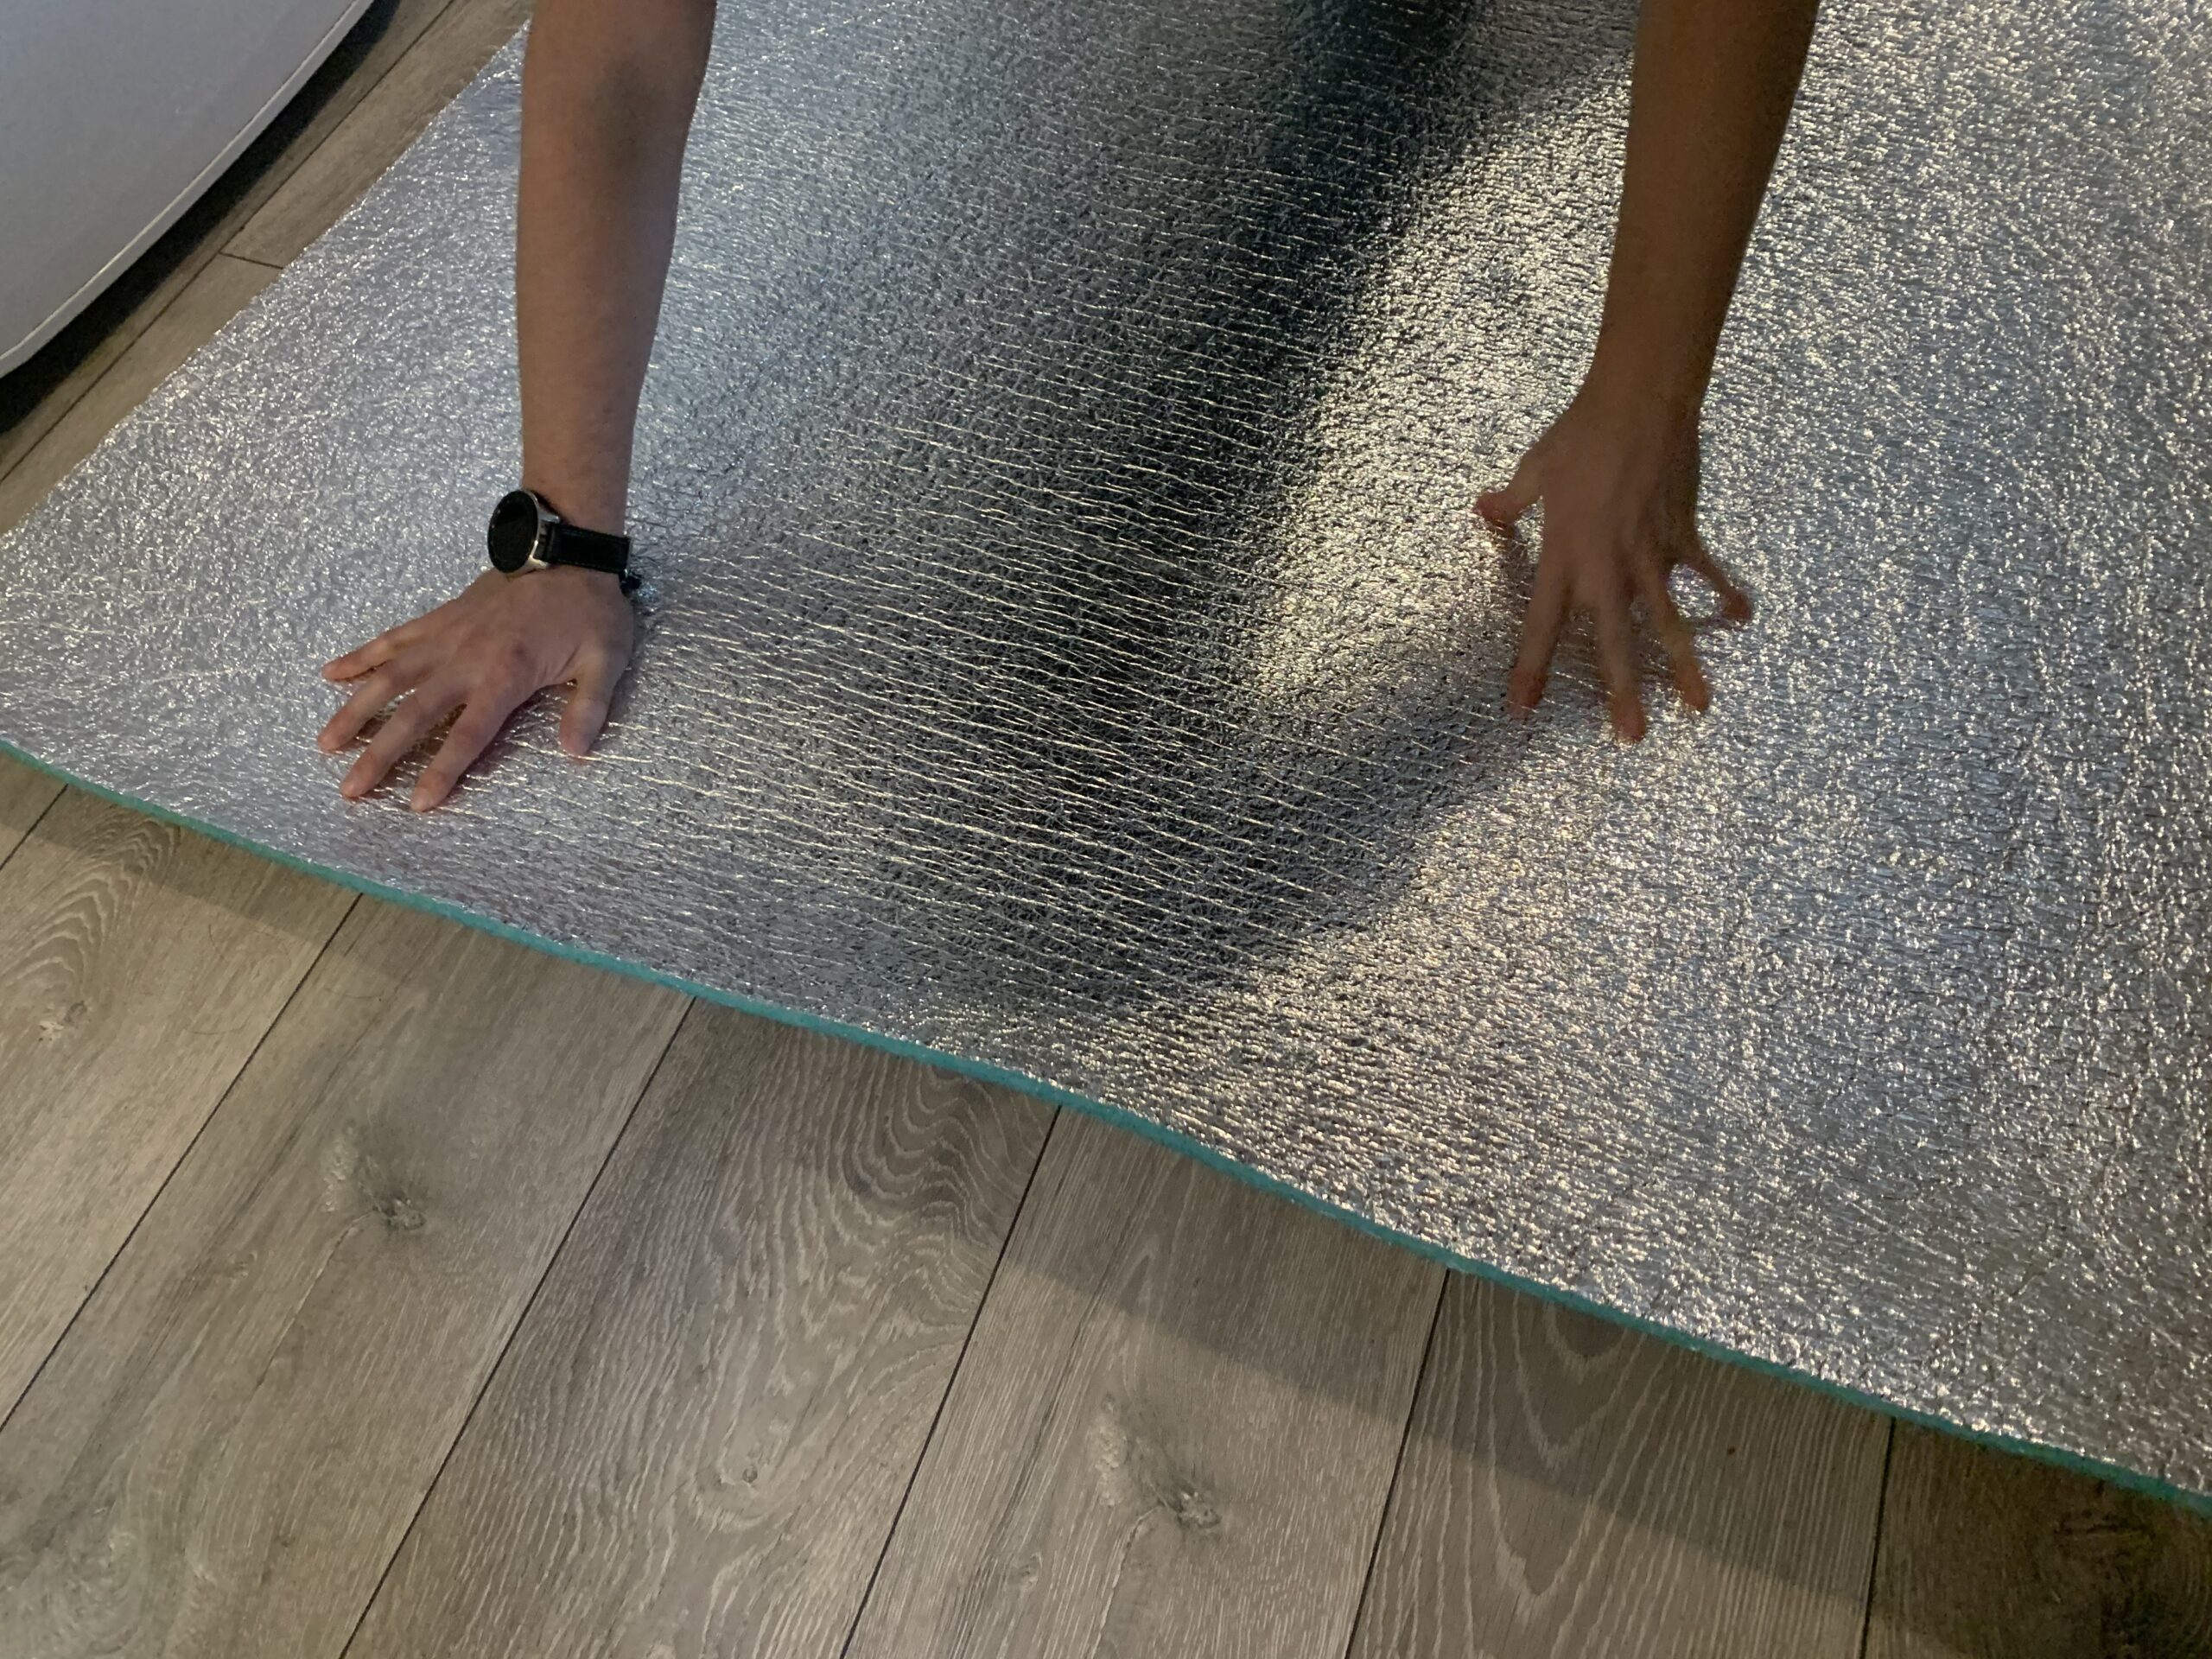
Step 1: Roll Out the Low-E
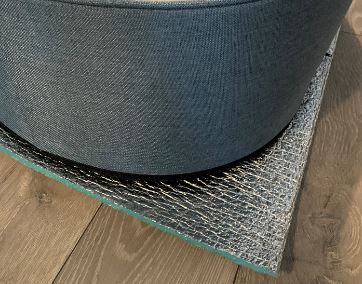
Step 2: Align Your Pet Bed
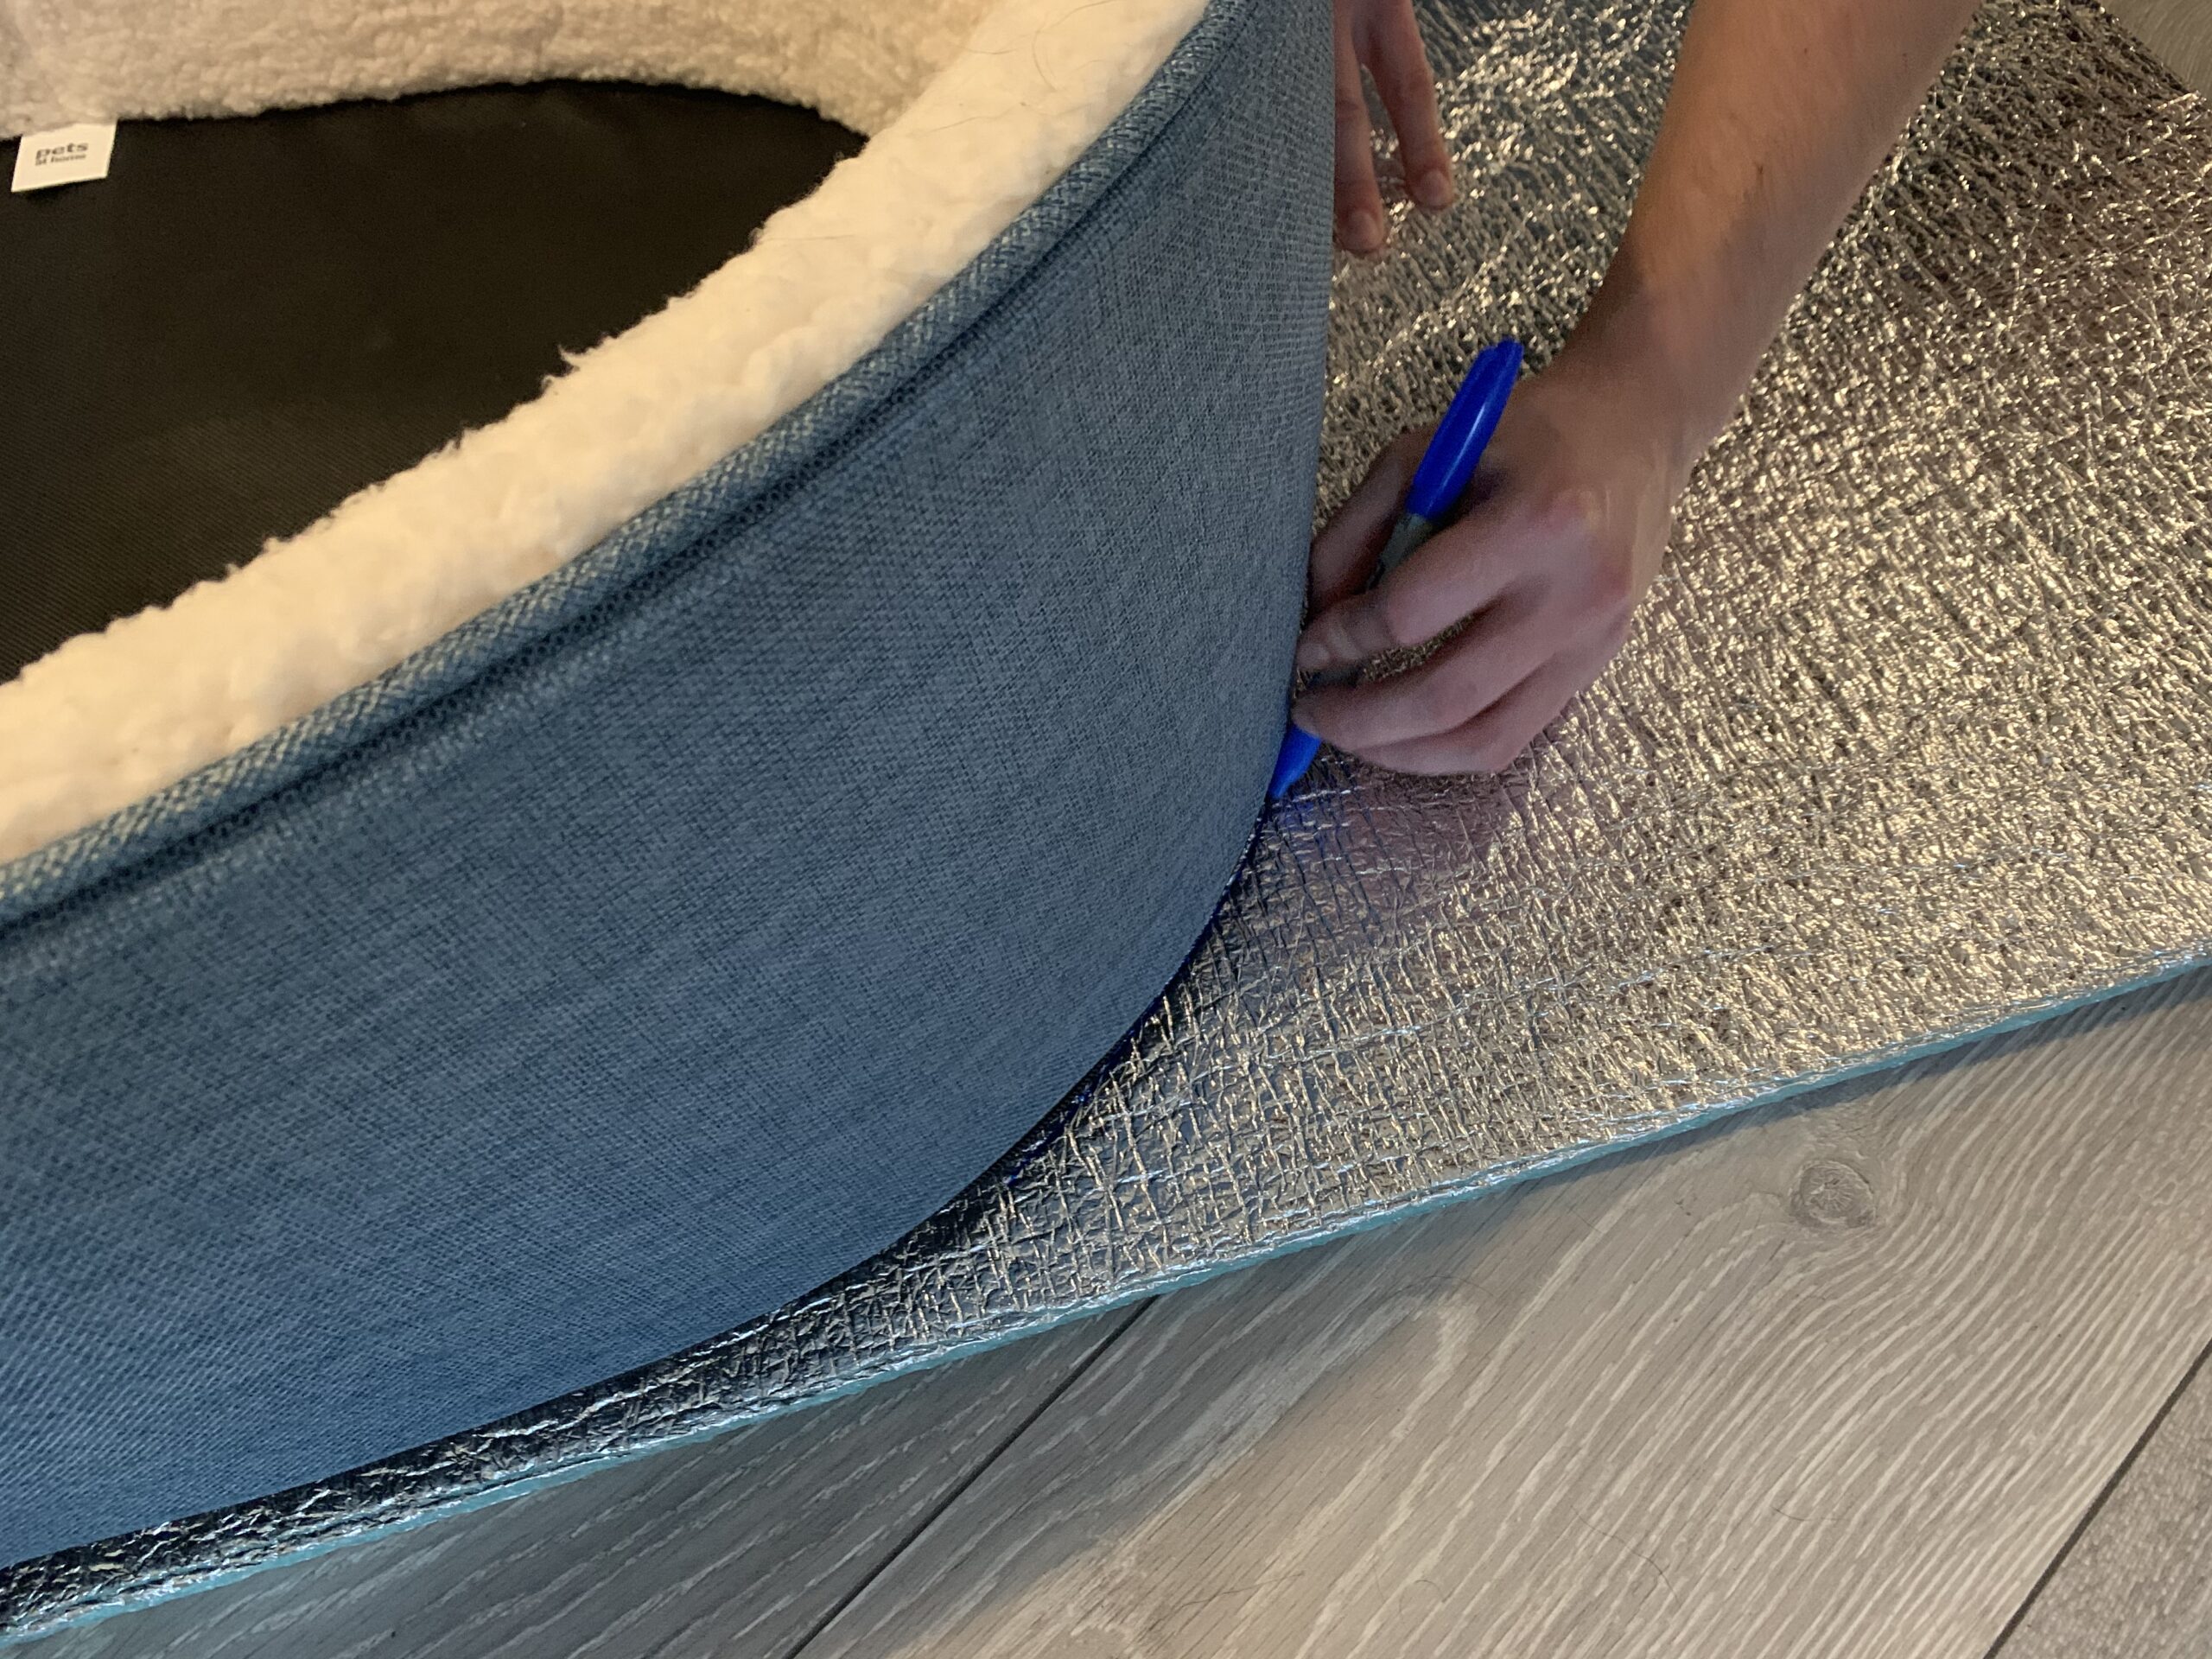
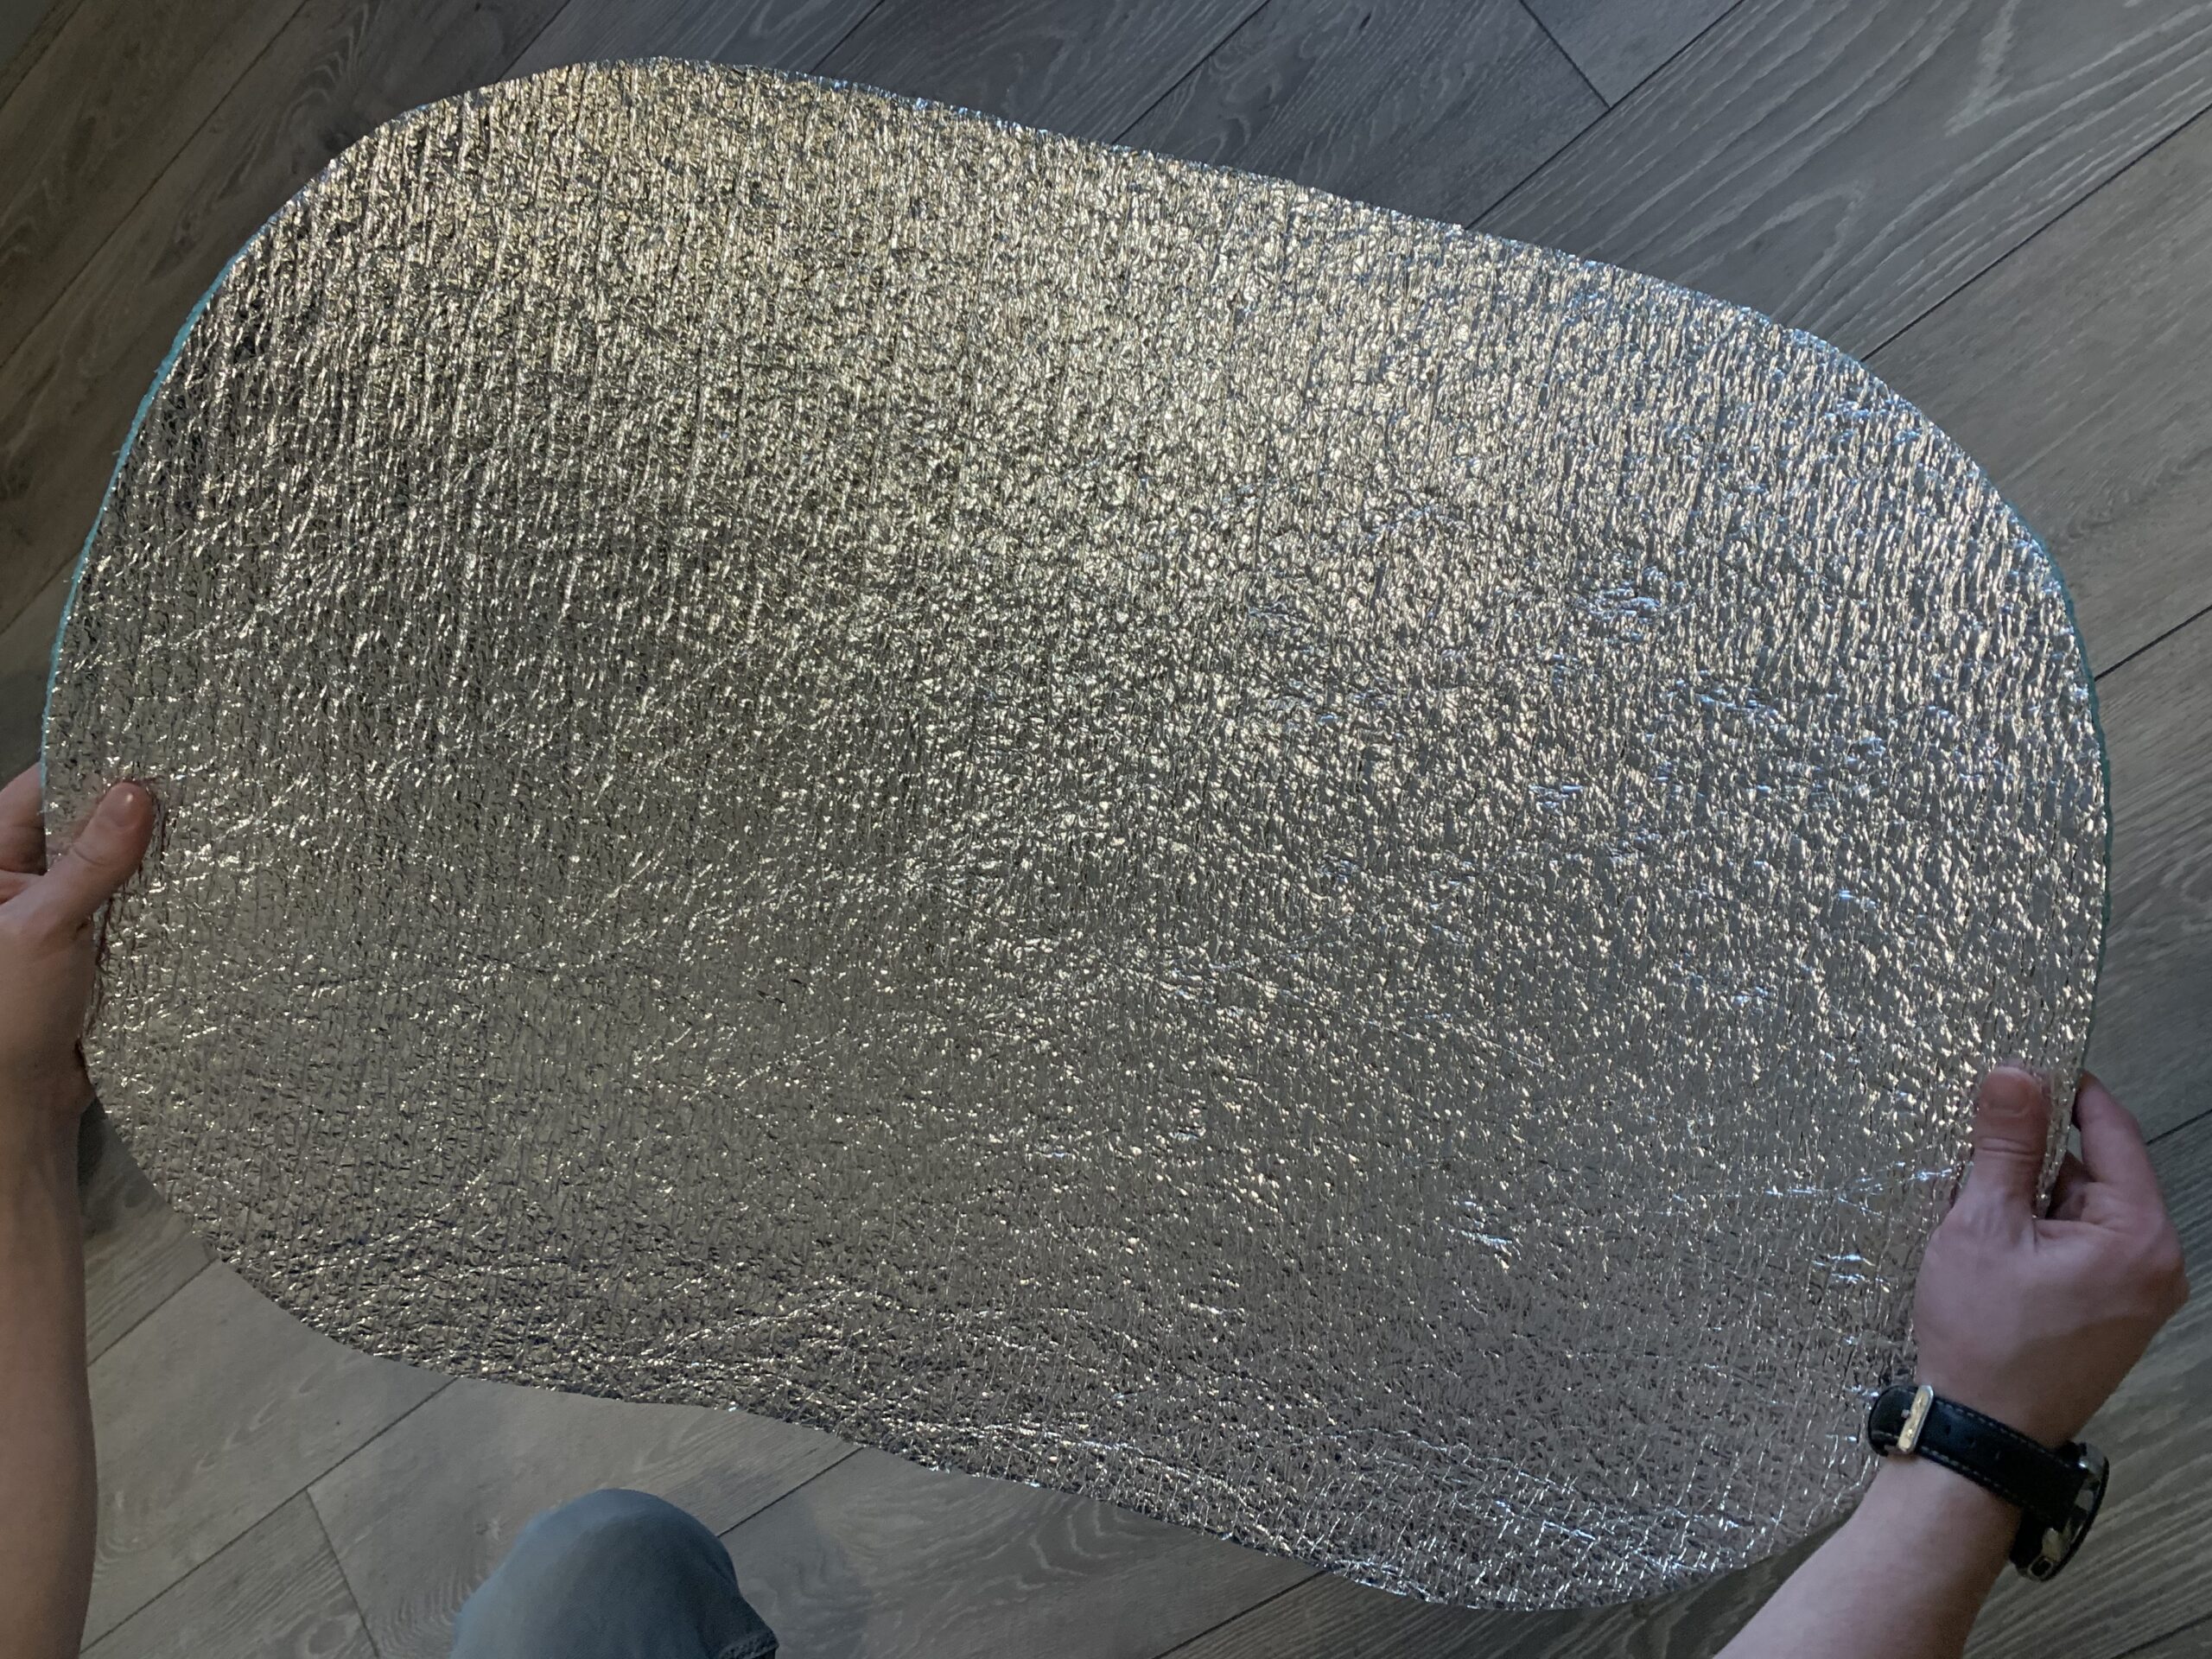
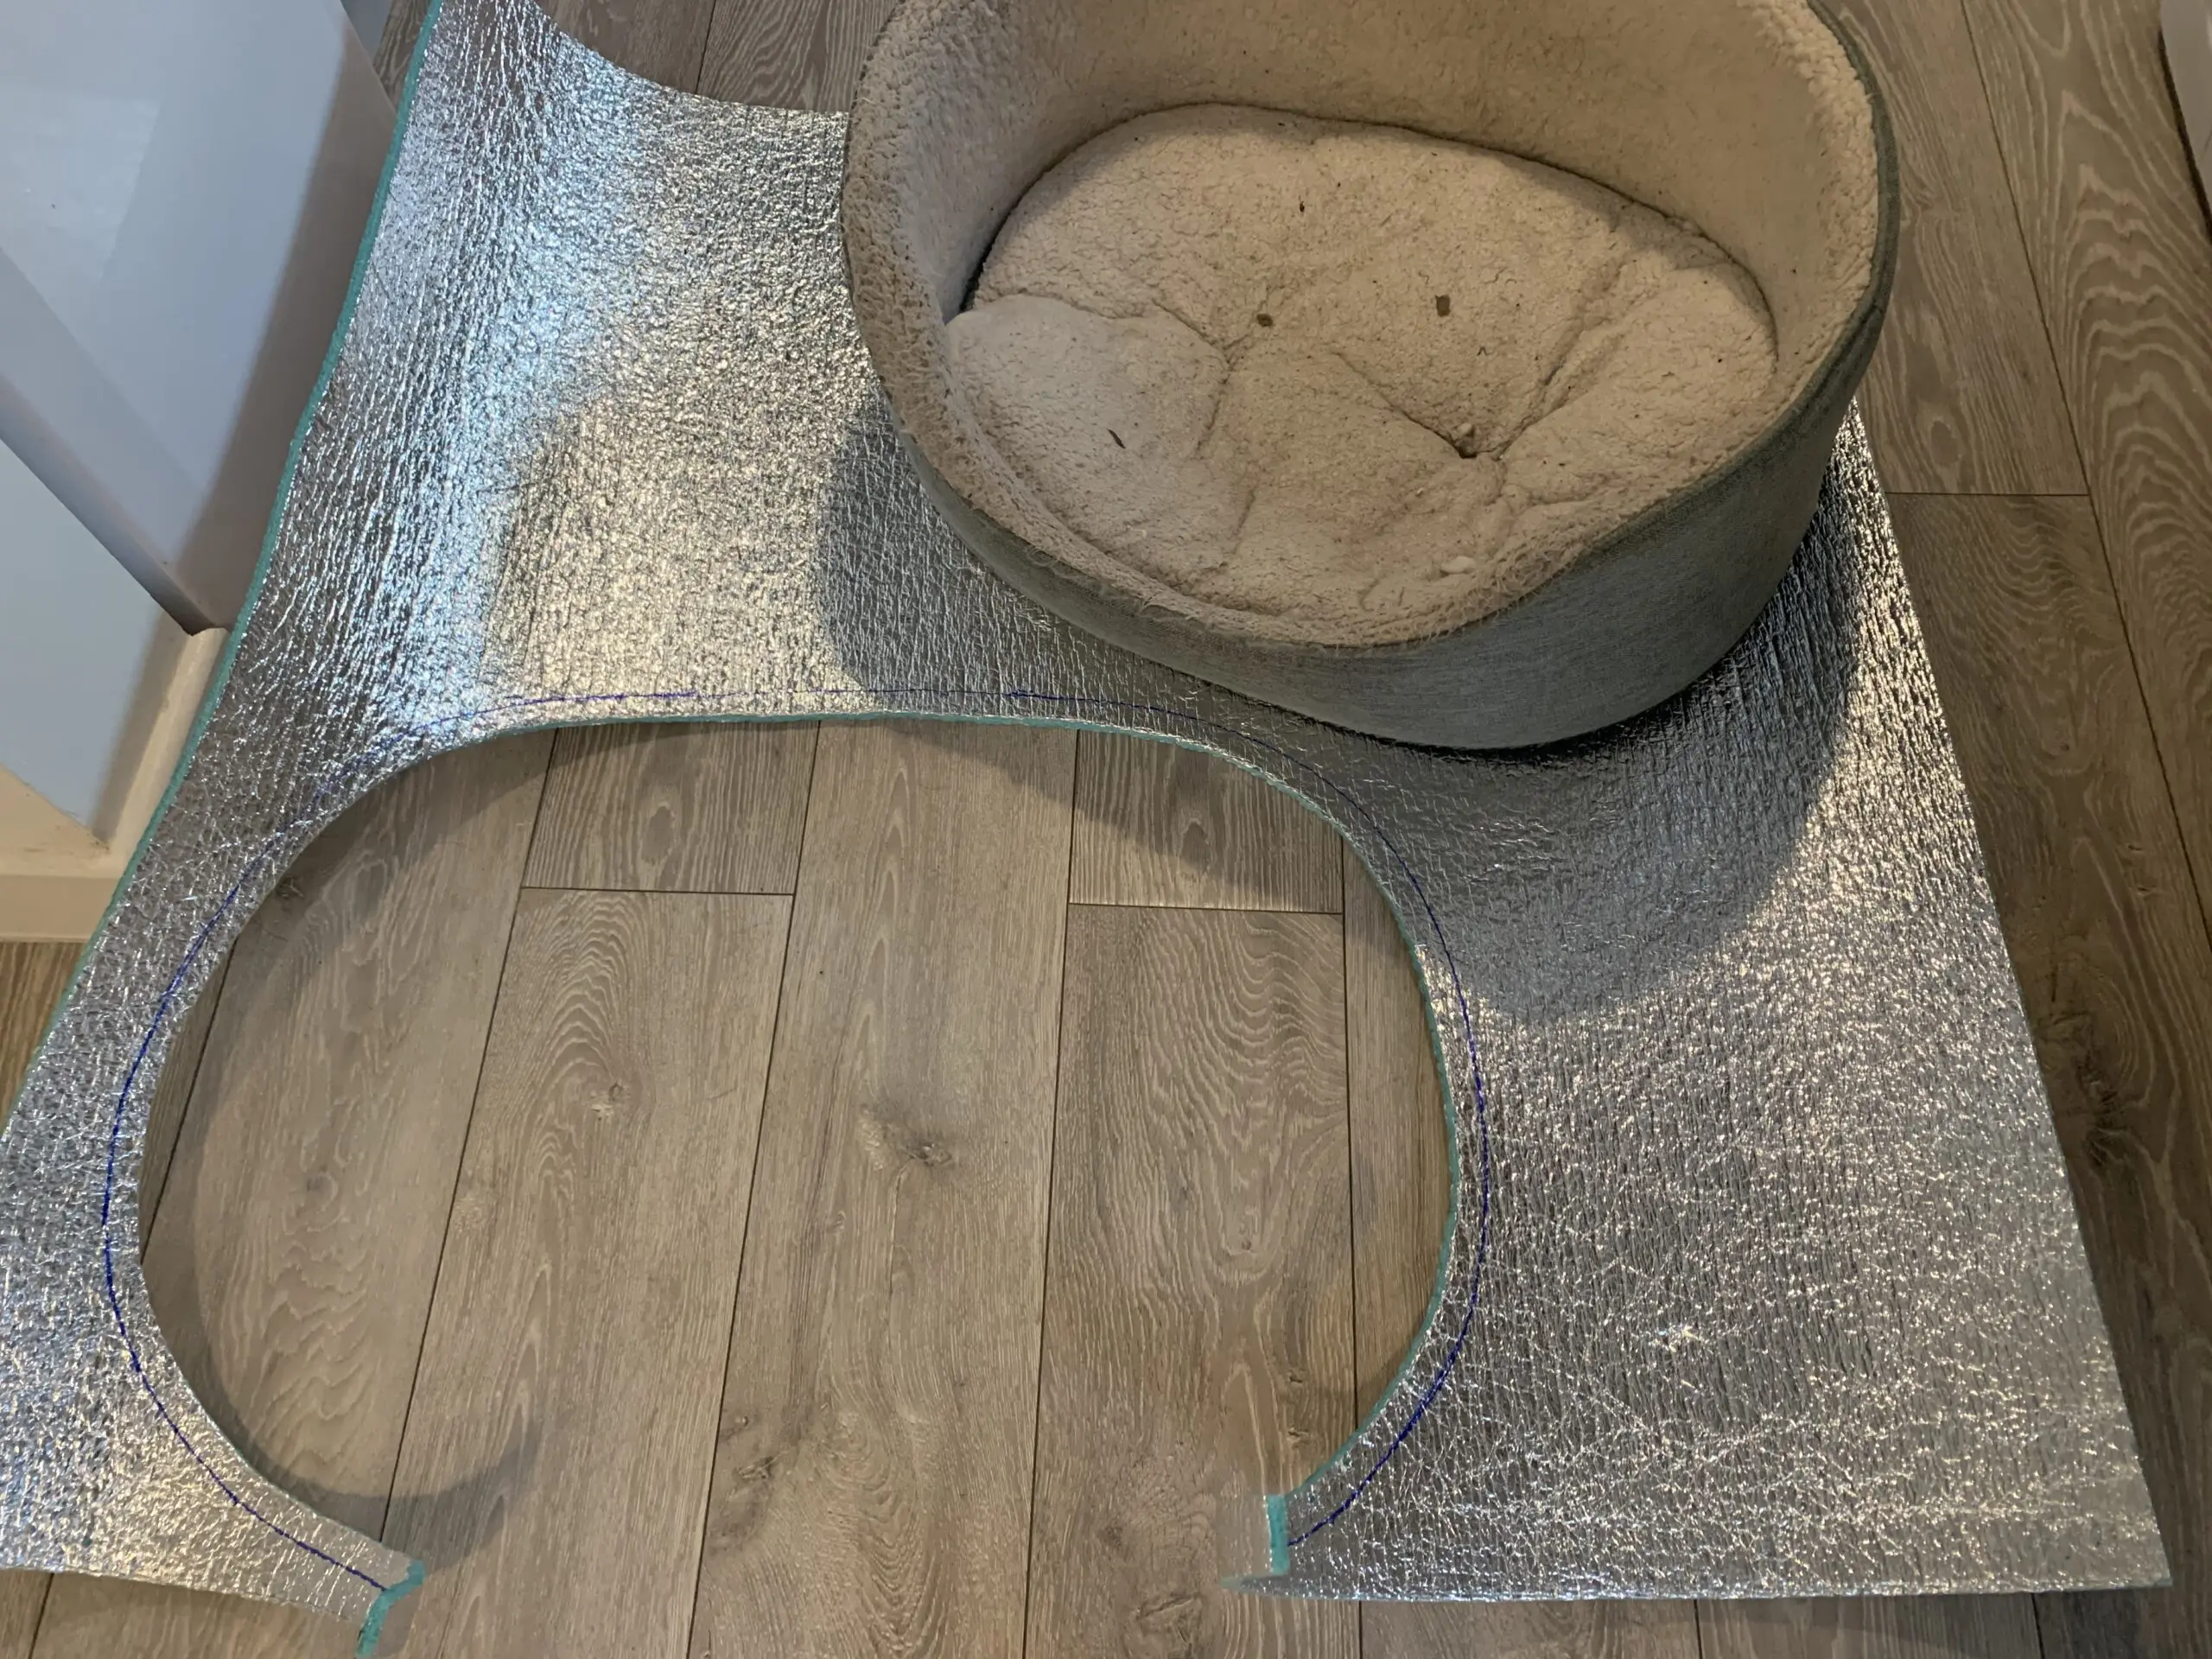
Step 3: Mark Out Your Pet Bed
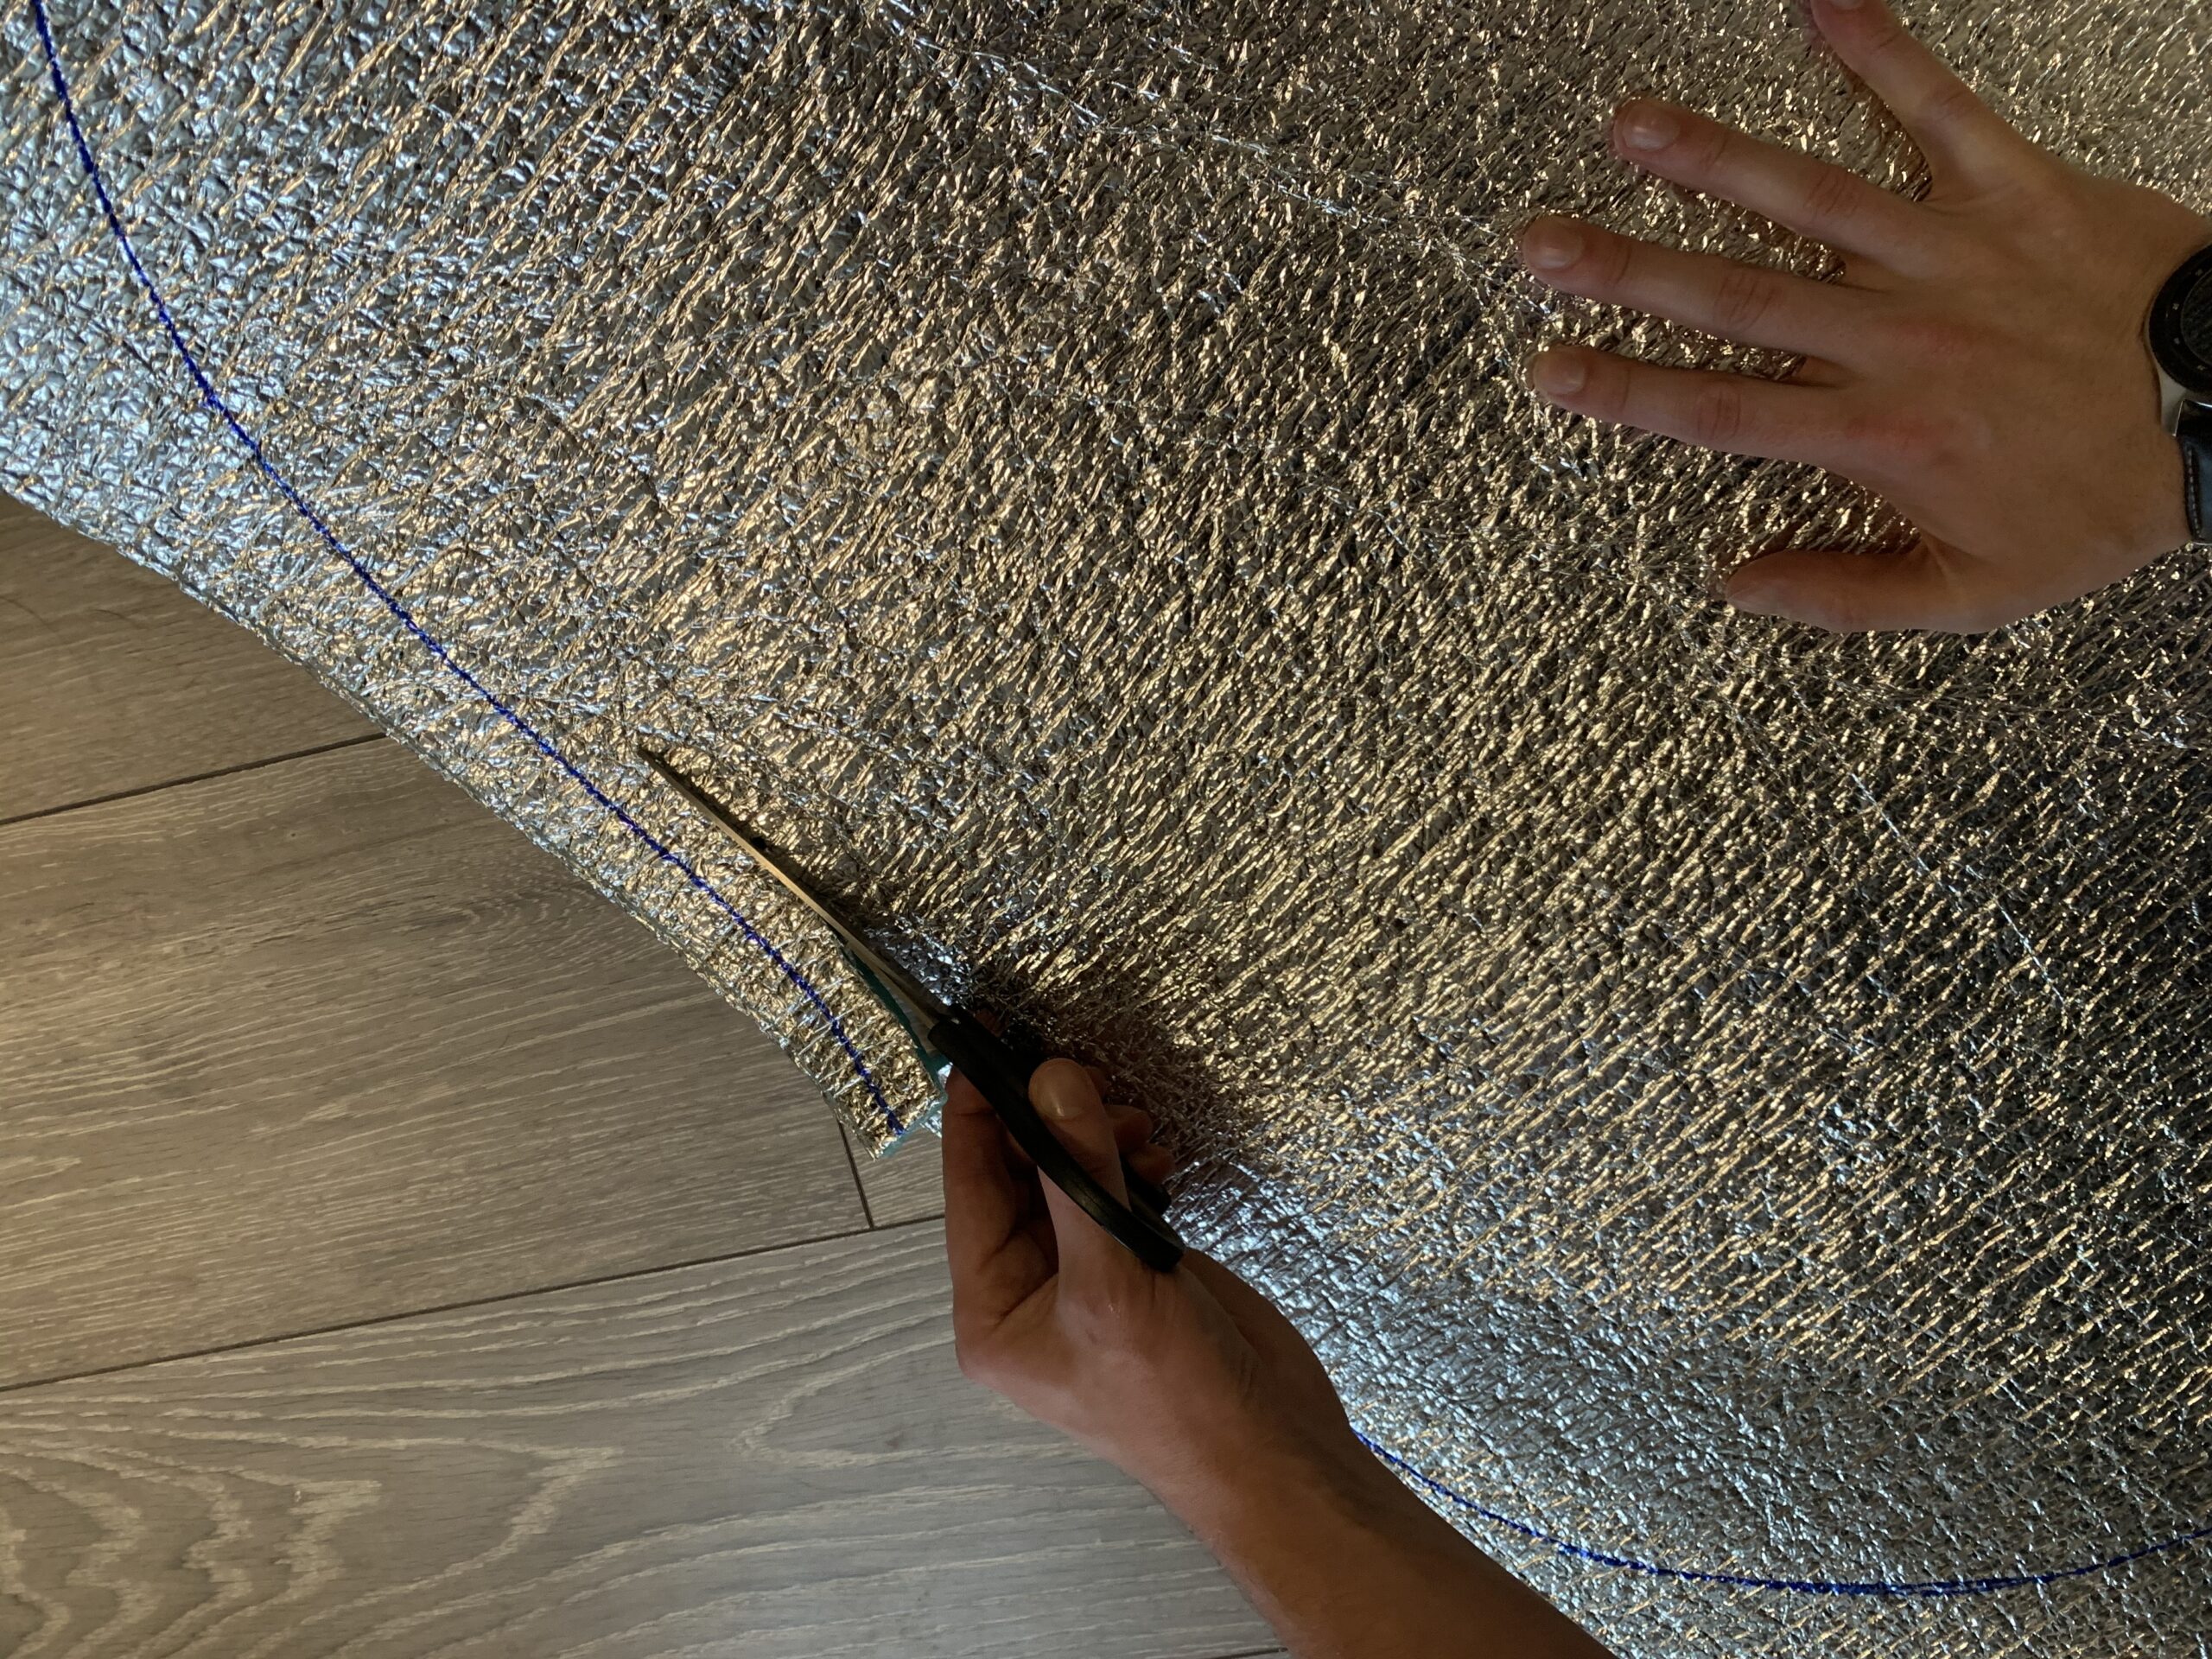
Step 4: Cut Out Your Pet Pad
Which option you take is really up to you, they are both equally effective!
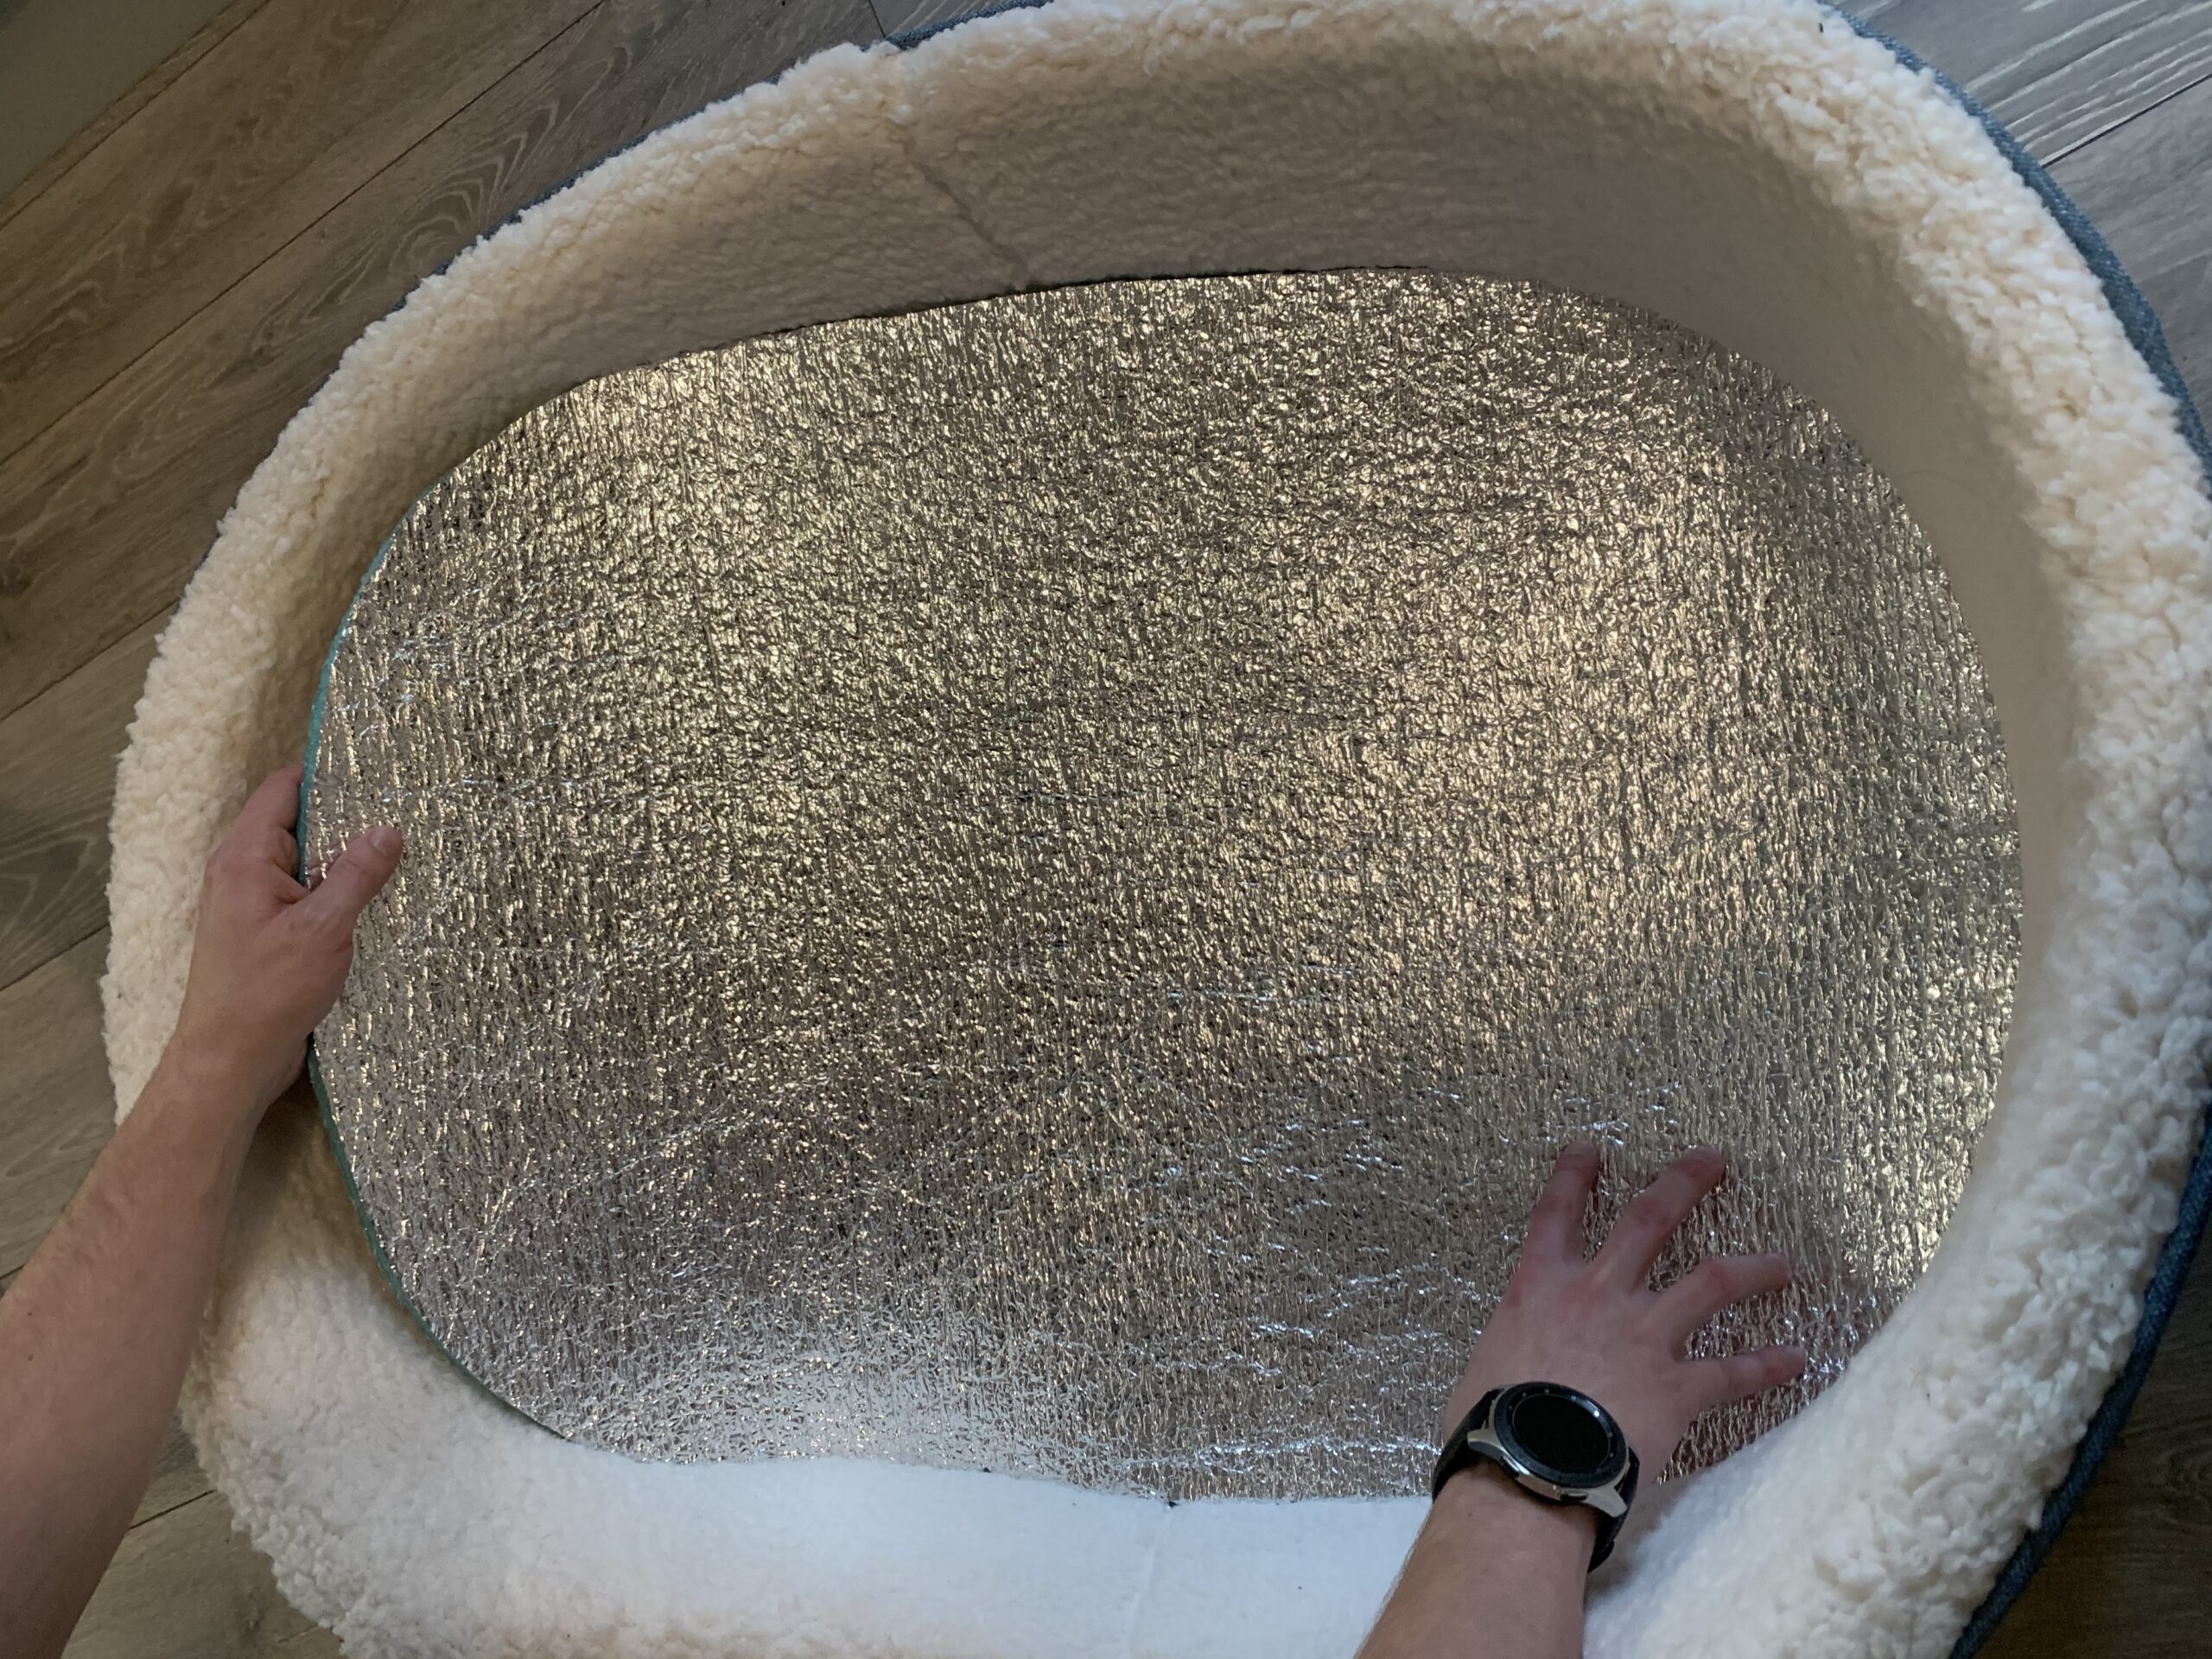
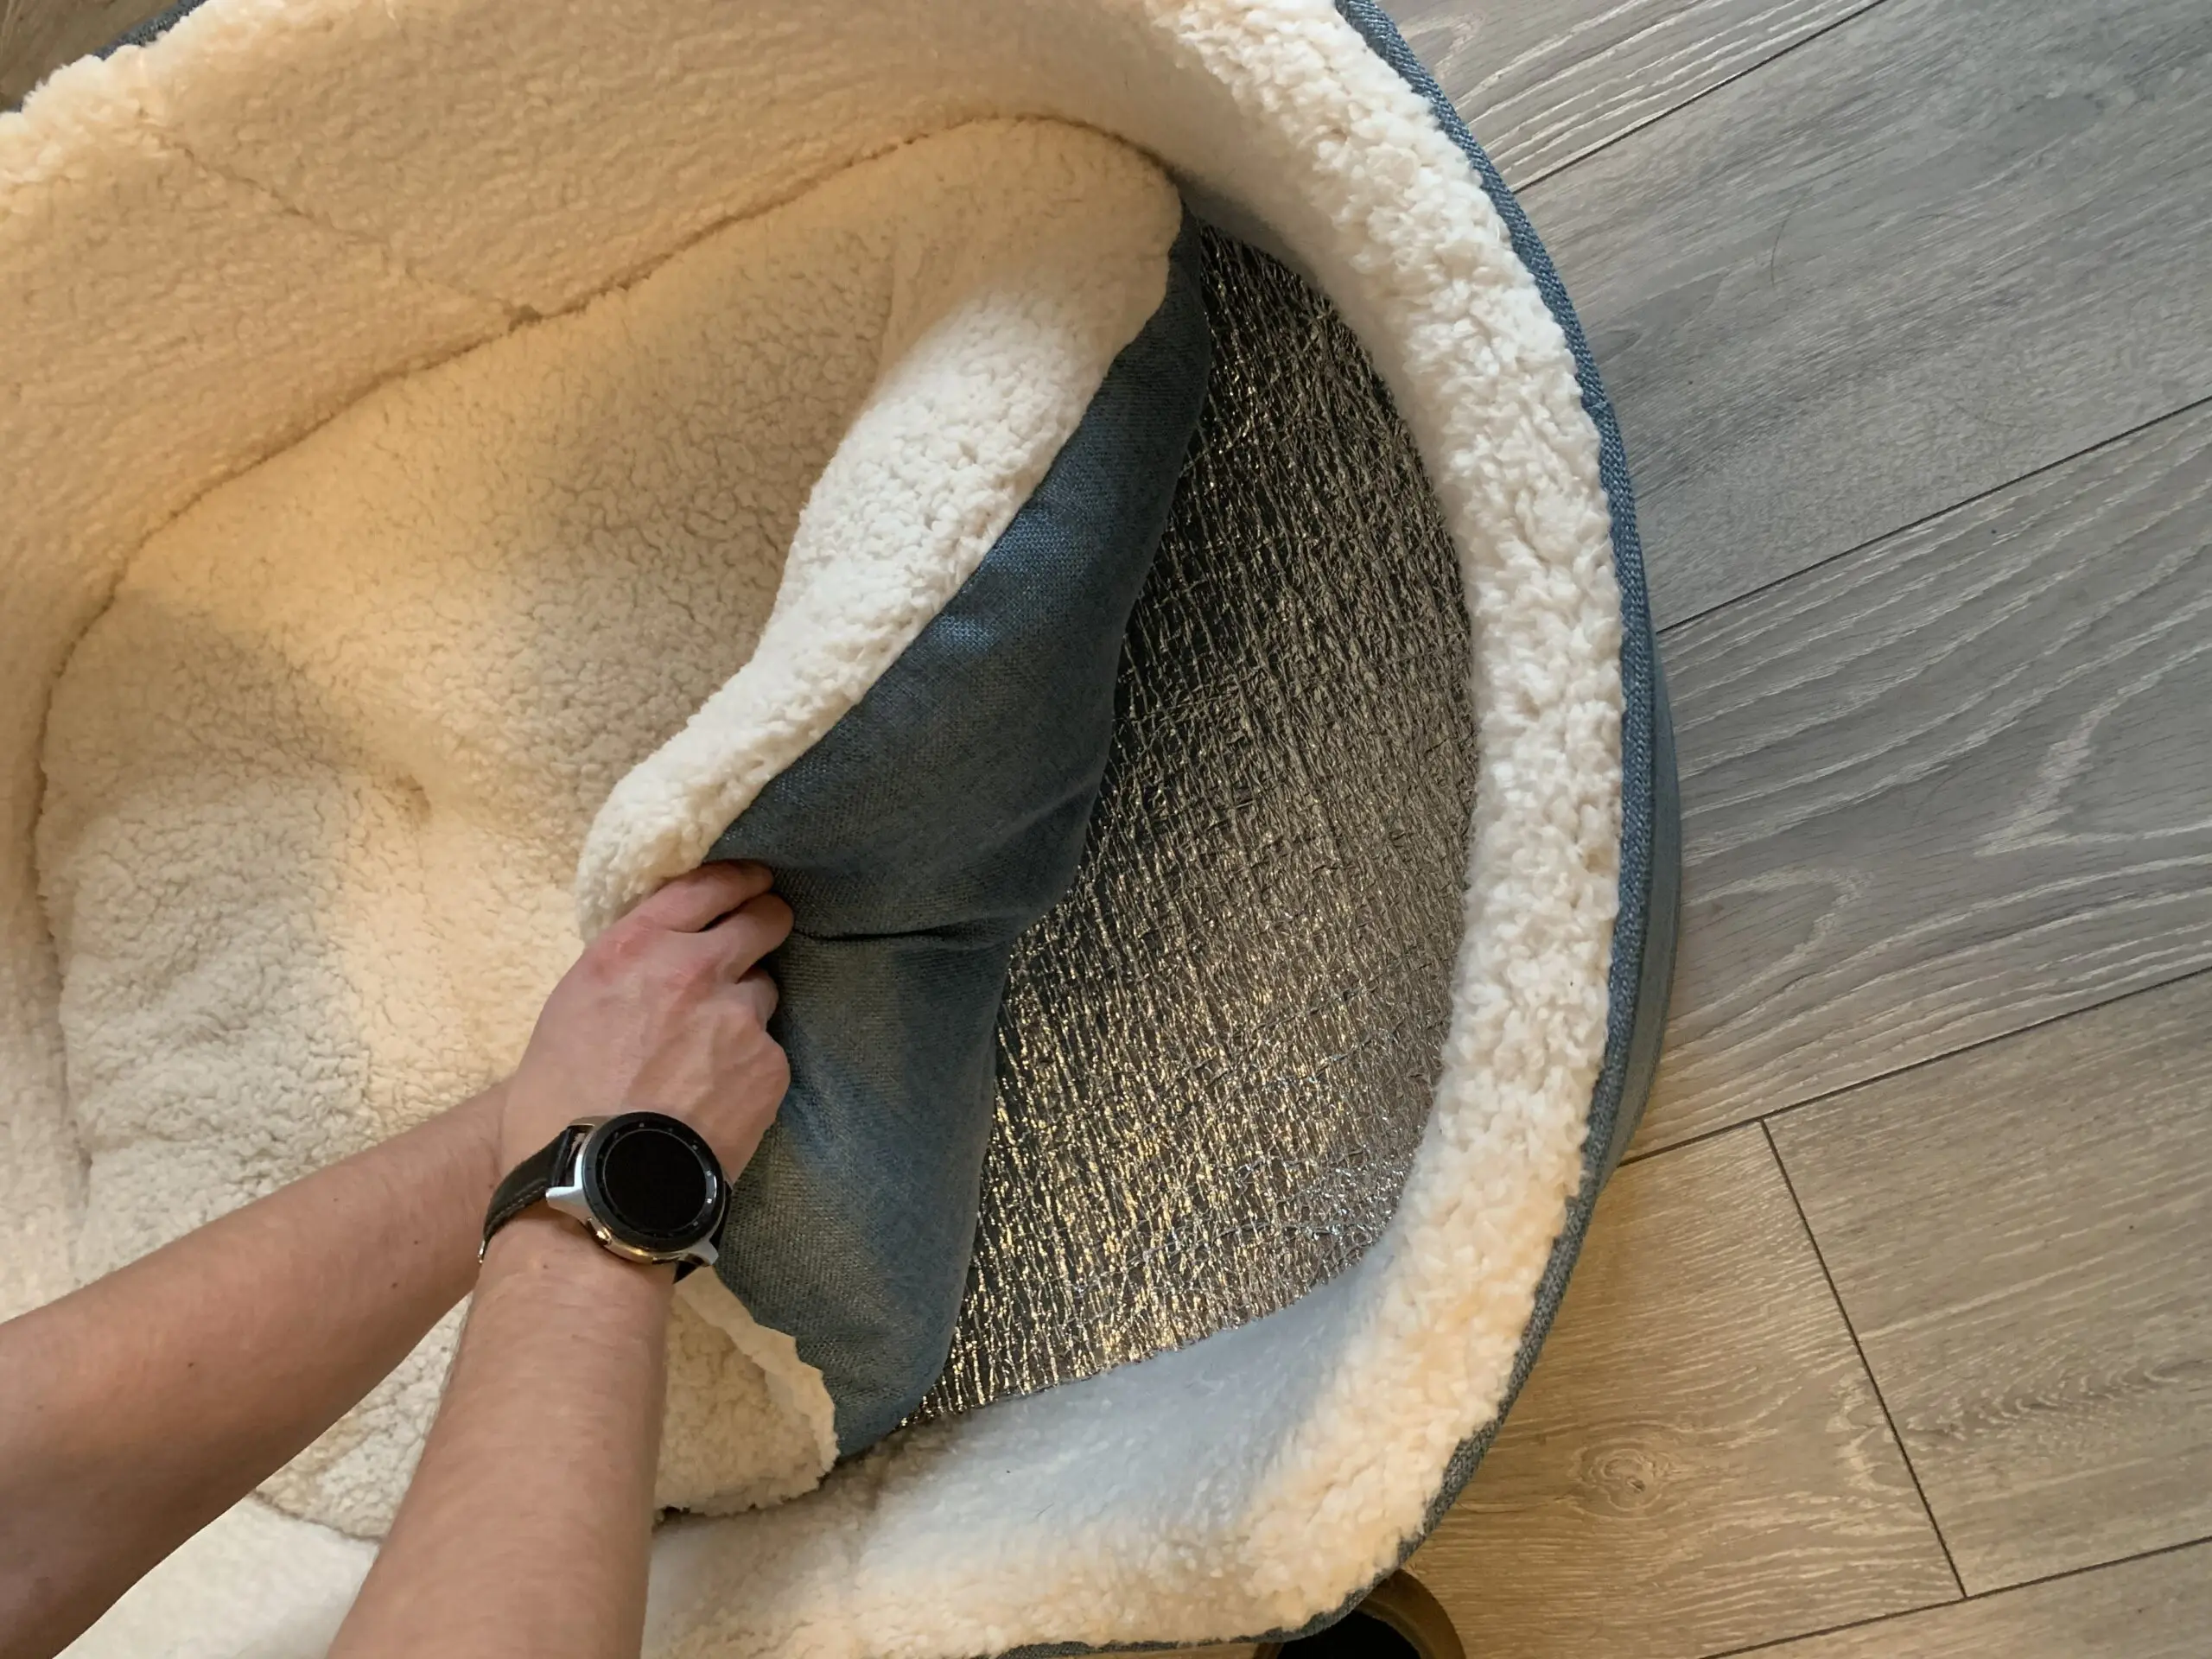
Step 5: Fit Your Pet Pad
If you would rather sit your Pet Pad inside the bed then remove the internal cushion and try to sit your Pet Pad flat in the bed. It may be slightly too large at this point.
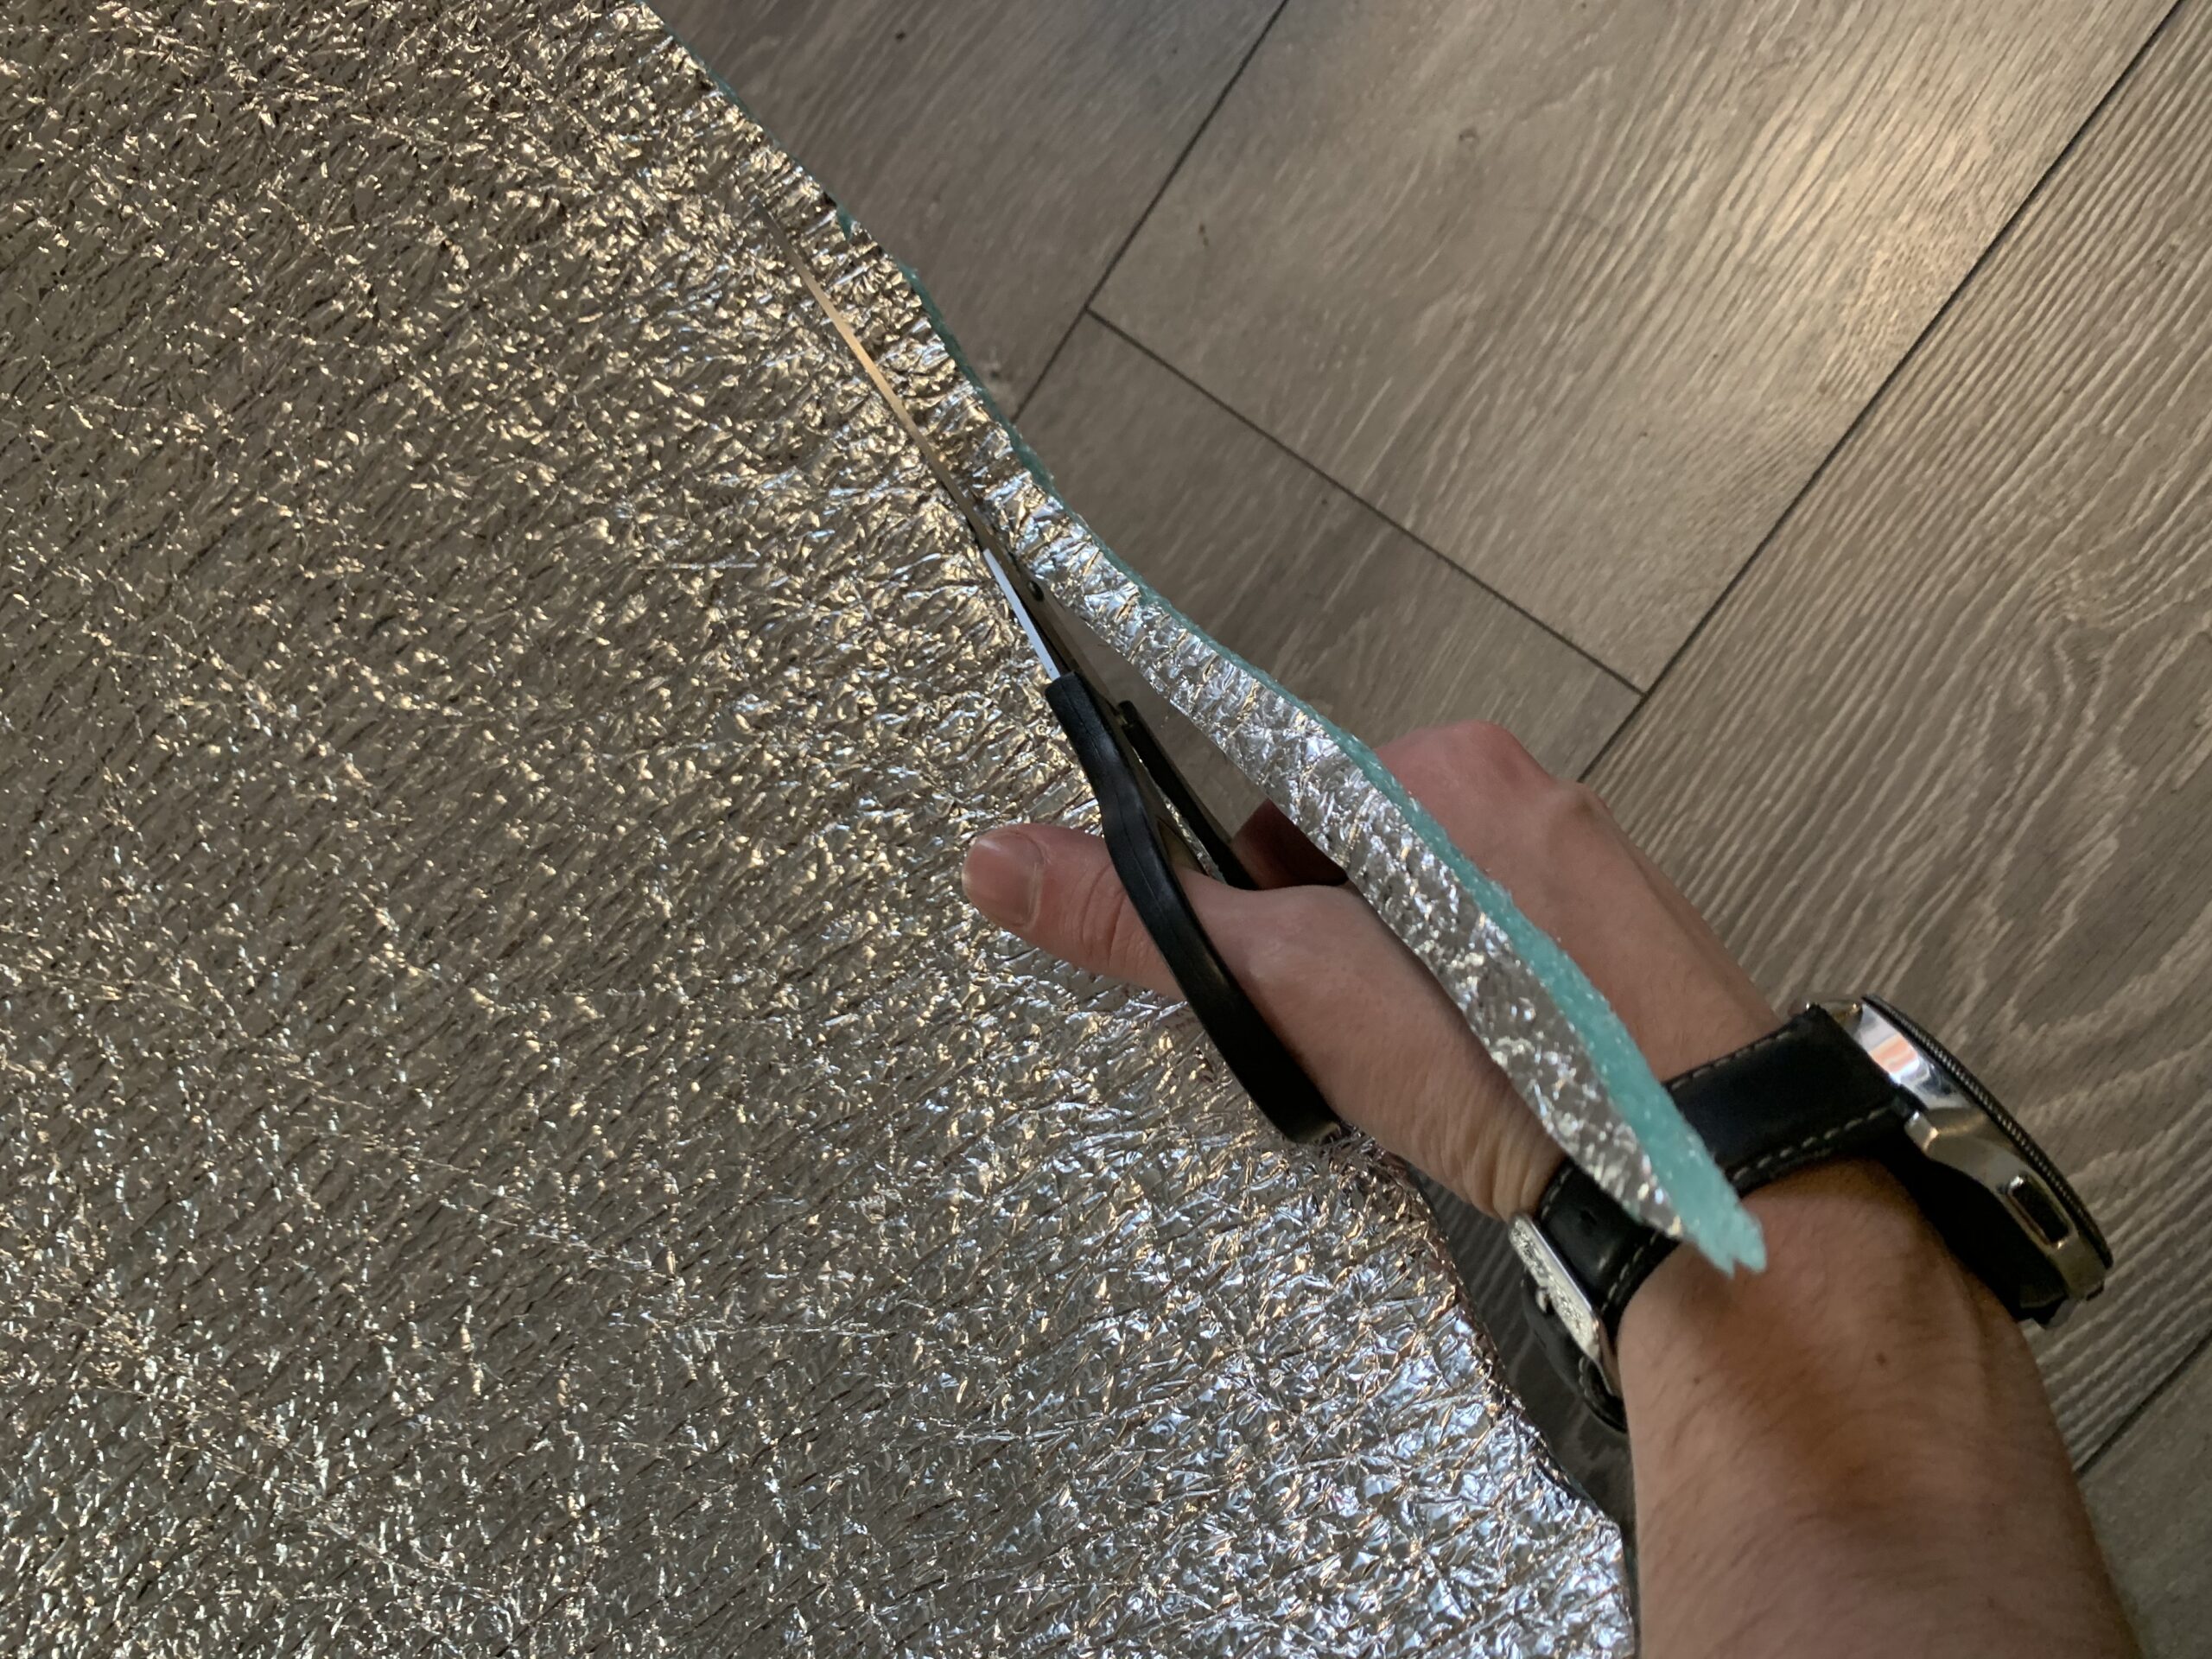
Step 6: Trim the Edge of Your Pet Pad
Step 7: Re-Fit Your Pet Pad
Step 8: Make Use of Any Left Over Material
Step 9: Finishing Off